How to Uninstall Internet Explorer from Windows 10
Make sure to create a restore point just in case something goes wrong.
How to Uninstall Internet Explorer from Windows 10 Method 1: How to uninstall Internet Explorer using Control Panel Method 2: How to uninstall Internet Explorer using PowerShell Method 3: Uninstall Internet Explorer 11 using Manage Operational Features
Method 1: How to uninstall Internet Explorer using Control Panel
For removing Internet Explorer from your system, you have to go through these steps:
Go to Start > Settings or press Windows Key + I keys to open Settings.
Click on the Apps option.
Now, from the left-hand menu, choose the Apps & features.
Now from the right-most window, click “Program and Features” link under Related settings.
A new window will pop-up; wherefrom the left Window-pane, you have to click on “Turn Windows features on or off” option.
Uncheck “Internet Explorer 11” and then OK.
Click Yes, then click Restart Now to confirm the changes. Once you follow all the steps, you will be able to Uninstall Internet Explorer from Windows 10.
Method 2: How to uninstall Internet Explorer using PowerShell
Another way to Uninstall Internet Explorer 11 from Windows 10 is via PowerShell. To do this, the steps you need to follow are:
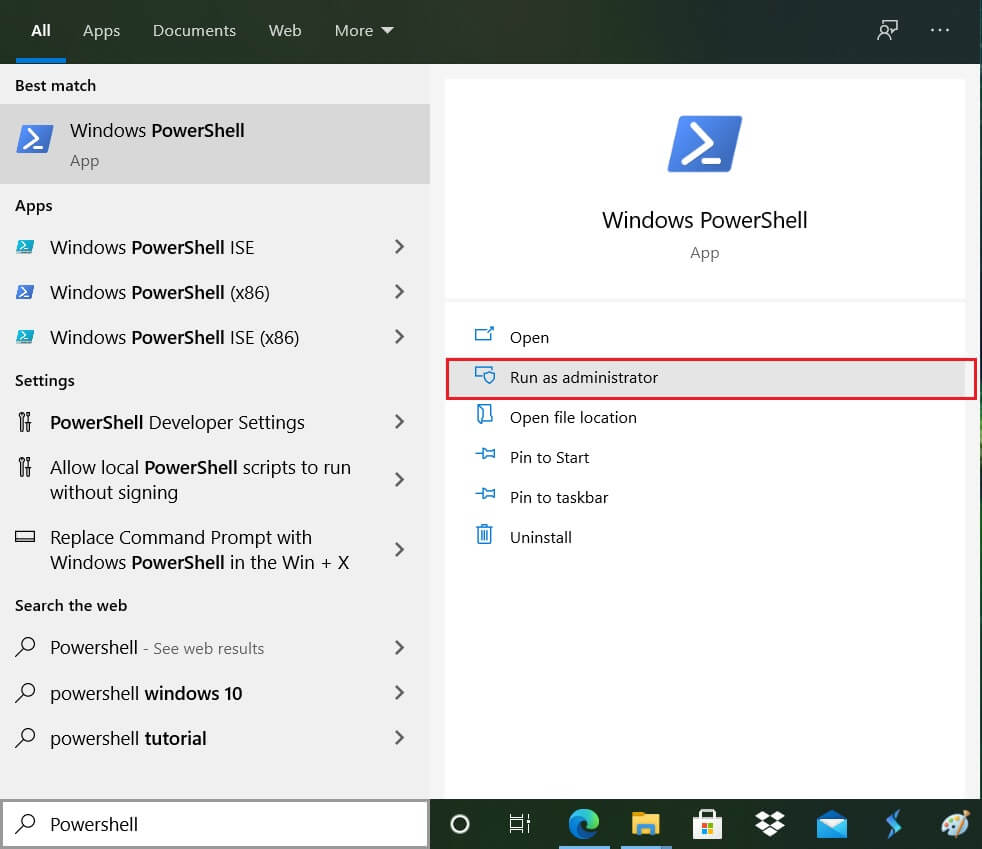
Click the Start and search the term “PowerShell”.
Right-click the PowerShell application, and open it as “Run as administrator” mode.
To Disable Internet Explorer 11, you have to type the command mentioned below:
Now press Enter. Type ‘Y’ to say Yes and hit Enter to confirm your action.
Restart the system once the entire process is complete.
Method 3: Uninstall Internet Explorer 11 using Manage Operational Features
Another simple way to uninstall Internet Explorer 11 from Windows 10 is by using Manage Operational Features, which provides you with a quick way of removing this browser from the system. To do this, you have to follow the steps written below –
Press Windows Key + I to open Settings.
From the Settings Window, go to the search box and type: “Manage Operational Features”.
From the list, search for “Internet Explorer 11”.
Click on Internet Explorer 11 then click on Uninstall button to remove IE 11 from your system.
So now you have uninstalled Internet Explorer from your system through all the above-mentioned methods, in case you need to install Internet Explorer on your system again. You need to follow the same step as you did for method 3: 5. Press Windows Key + I to open Settings. 6. From the Settings Window, go to the search box and type: “Manage Operational Features”. 7. From the list, search for “Internet Explorer 11”. 8. Click on Internet Explorer 11 and & then click on the Install button to add Internet Explorer 11 in Windows 10.
Recommended:
How to Change Keyboard Layout in Windows 10 Windows 10 Tip: How to Block Internet Access How to Change Account Username on Windows 10 How to Customize Screensaver in Windows 10
I hope the above steps were helpful. Now you can easily Uninstall Internet Explorer from Windows 10, but if you still have any questions regarding this tutorial, please feel free to ask them in the comment’s section.