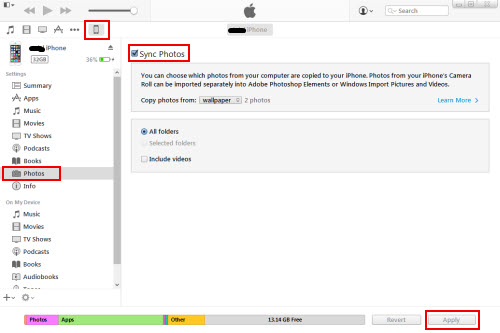
1. Transferring Photos From iPhone to Computers Through iTunes
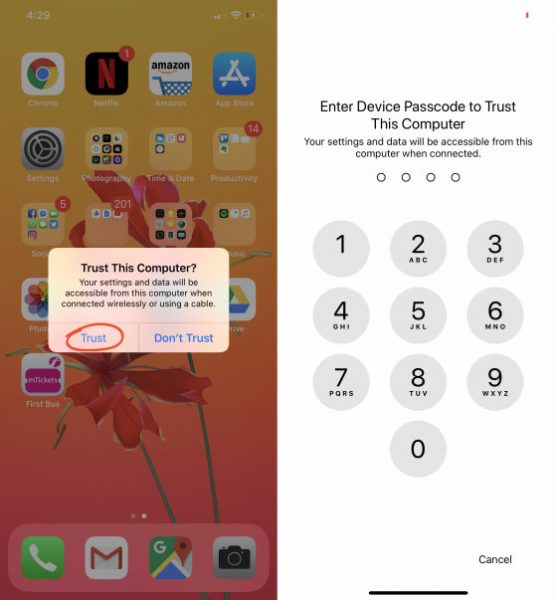
Transferring photos from your iPhone to your computer through the use of the iTunes app is one of the easiest method out there. When you’re an iPhone user, it’s probably Apple’s rule of thumb to install the iTunes app in your computers for all iPhone-related problems. When you need to transfer photos to the computer via iTunes, the app will automatically sync all pictures between your iPhone and your laptop or desktop. However, it only copies those pictures that are saved on your smartphone but not on your computer. To do this, follow these steps:
2. Transferring Photos From iPhone to Computers Through Windows Explorer
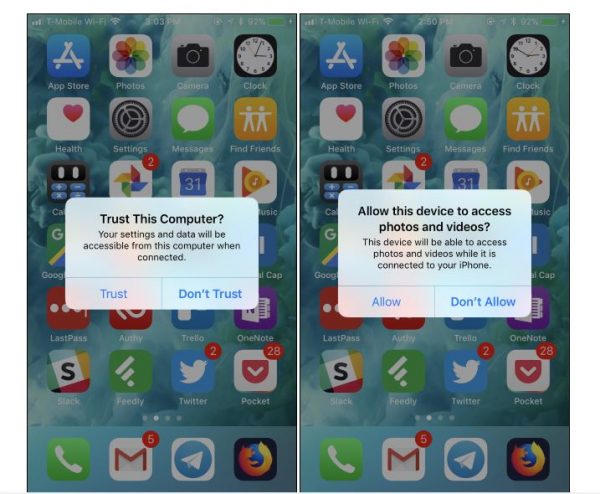
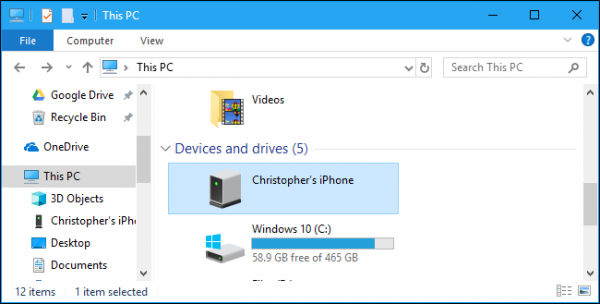
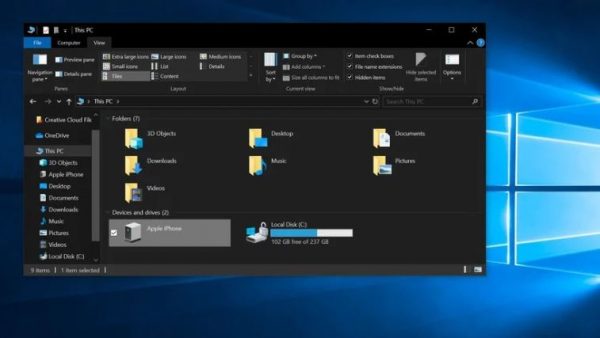
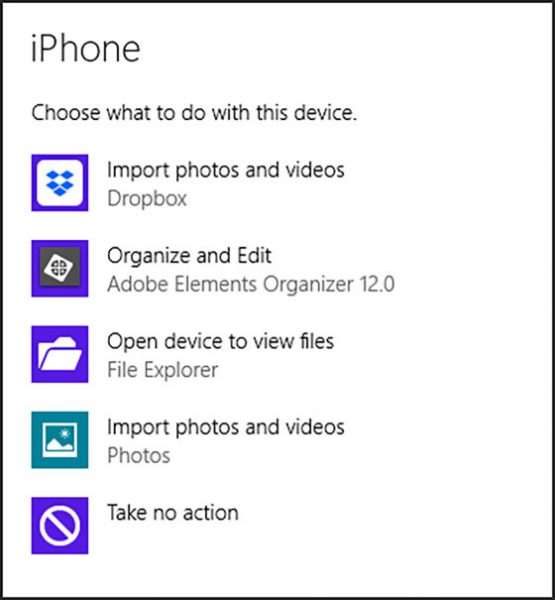
Also known as File Explorer in other Windows computers, the Windows Explorer is another method to transfer photos from iPhone to your computer. This method doesn’t require the iTunes app or any third-party software. Through this method, all your photos and videos will be stored in one folder instead of per album. As a result, it’s more difficult to manage all your pictures and choose the best photos for transferring. If you’re using this method, follow these set of instructions on how to transfer photos from iPhone to your computer using Windows Explorer: 3. On your Windows desktop or laptop, open My Computer. 4. From the Windows Explorer panel, you should have your iPhone under the “Portable Devices” section. 5. Double-click on that folder to open the file. You will see the “DCIM” folder. 6. Open the DCIM folder. 7. Select your expected photos from your iPhone. You can either select all photos or multiple-select your photos. 8. Right-click on the selected files or you can tap “Ctrl + C” on your keyboard to copy these photos. 9. Paste these images on your desired folder by selecting “Ctrl + V” on your keyboard.
3. Import Photos and Videos From iPhone to Windows PC
Under the same section of transferring photos from iPhone to your computer using Windows Explorer is through the import method. To perform this process, here are the steps:
4. Transferring Photos From iPhone to Computers Through AutoPlay Feature on Windows
Through the AutoPlay feature, it’s similar to transferring photos from iPhone using Windows Explorer. Also, in this process, you must ensure that your computer’s AutoPlay feature is activated. Here are the instructions to follow if you’re using this method instead: 3. From your Windows PC, an AutoPlay pop-up is displayed prompting for your action. 4. Under Device Options, click on “Import Pictures and Videos.” 5. Click on “Import Settings” so you can specify the folder path for saving your photos and/or videos. 6. Then, click on “Browse” when prompted with the “Import Images To” for folder path specification. 7. Click on “OK” once you’ve specified the folder location or name for your photos and videos.
5. Transferring Photos From iPhone to Computers Through iCloud
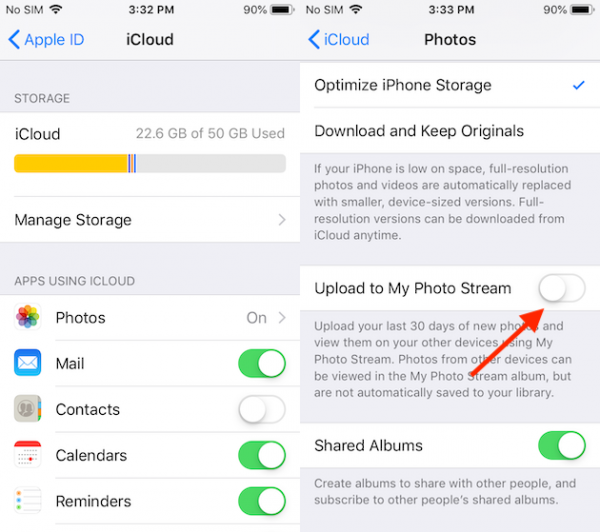
Another platform for transferring photos from iPhone to any computer without the iTunes app is using iCloud service. It’s Apple’s official storage platform for backing up files on your iOS devices; however, we will be using this method for transferring photos to your PC as well. Take note, you need to perform some prerequisite steps before you’ll proceed with the actual file transfer.
Prerequisites
Through iCloud Control Panel
Mac
Windows
For both Mac and Windows, your photos from your iPhone will automatically be copied or synced to your PC when you’re connected to an internet or Wi-Fi network.
Through iCloud Web Version
If you don’t want unnecessary apps on your PC, you can try using the iCloud’s web version. To perform this method, follow this step-by-step instruction.
6. Transferring Photos From iPhone to Mac Through AirDrop
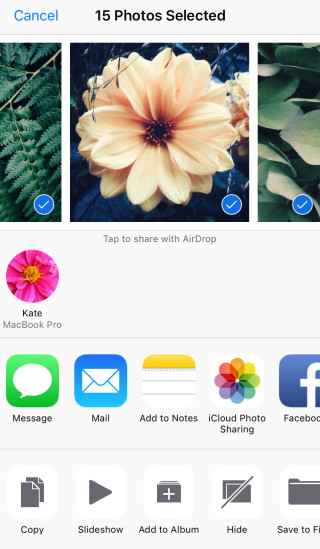
With an internet or Wi-Fi network, Apple’s AirDrop feature makes transferring photos from your iPhone to any computer possible and easier. That said, you need to have all devices such as your iPhone and/or iPad as well as your MacBook connected to a Wi-Fi network. Also, the AirDrop feature is only compatible with 2012 or higher Mac versions. It works on a MacBook running on OS X Yosemite or later to transfer photos between your iPhone to your computer. If your devices didn’t meet the minimum system requirements, you may proceed with other alternatives mentioned in this article. If you’re interested to proceed with this option, here are the following steps: 2. Choose your preferred photos that you want to transfer to your MacBook. 3. On the lower-left part of the screen, tap the Share icon. The icon is square-shaped with an arrow-up icon. 4. Tap on the AirDrop icon. 5. Under the “Tap to Share with AirDrop” section, tap on your MacBook’s name.
7. Transferring Photos From iPhone to Computers Through Email
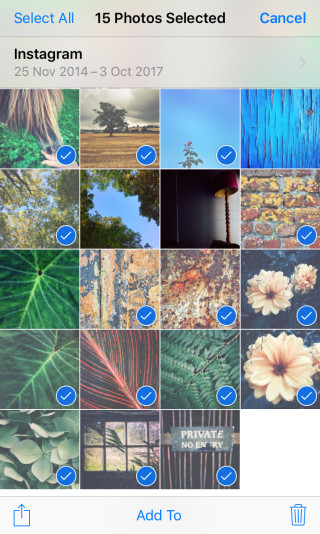
It’s more convenient to transfer photos from your iPhone to your PC through your personal email. You can just send an email with the attached photo/s from your iPhone, send it to yourself, open your email through your computer, and download these photo/s. If you don’t want to spam your email, you can proceed with other alternatives. To perform this method, here are the steps:
8. Transferring Photos From iPhone to Computers Through Cloud Storage Platform
Aside from the traditional methods mentioned in this article, Microsoft OneDrive, Google Drive, and Dropbox are some of the major cloud storage platforms that can be used to transfer photos from your iPhone to your PC. However, it’s not always recommended, especially if you have massive files to transfer. Due to storage limitations, you can only transfer your most important photos and videos with cloud services, unless you’re on premium subscriptions. These platforms have 2 GB, 7 GB, and 15 GB worth of free storage on Dropbox, OneDrive, and Google Drive respectively. For all platforms, an internet connection is required for transferring photos to your PCs.
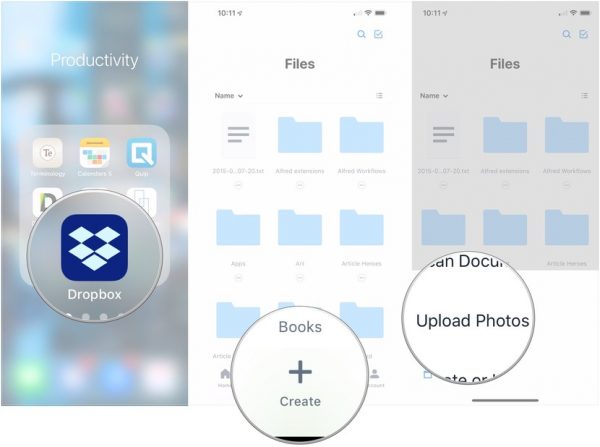
Dropbox
If you don’t have it yet, download and install the Dropbox app on your iPhone/iPad as well as the Dropbox app on your computer.
Google Drive
If you haven’t configured the apps on your devices, download and install the Google Drive app for both iPhone, iPad, and MacBook.
Transfer Photos At Ease Today!
In a nutshell, it’s always recommended to know the various methods on how to transfer photos from iPhone to computer – with or without the iTunes app. Indeed, it is considered one of the best practices to make regular backups of your treasured memories or even files in case of unforeseen software glitches. One of its advantages is freeing up space on your iPhone to make way for new ones. You may follow any of the comprehensive methods we’ve described in this article. There’s definitely one that works best for you. Which of these alternatives do you prefer? Also, we’re open to any suggestions that we might’ve missed in this article. You may contact us or feel free to let us know in the comment section below!