How to Move Apps to SD Card on Android Devices
Having expandable storage in your device is an added advantage. It is very easy and safe to transfer applications to SD cards on Android devices.
How to Move Apps to SD Card on Android Devices How to Use SD Card as Internal Storage Step I: Erase SD Card Step II: Change Default Storage Location
Note: Since smartphones don’t have the same Settings options, and they vary from manufacturer to manufacturer hence, ensure the correct settings before changing any.
From the App Drawer on Homescreen, tap Settings.
A list of options will be displayed on the screen. Here, tap Applications.
Tap on All option to open all apps.
Tap the App that you want to move to the SD card. We have shown Flipkart as an example.
Now, tap on Storage as shown.
If the selected application supports the feature to be moved, an option to Move to SD card will be displayed. Tap on it to move it to SD card. Note: If you want to switch the storage option back to internal memory, select Internal Memory in place of SD card in Step 6. This is how to move apps to SD card on Android smartphones and vice-versa. Also Read: How To Save Photos To SD Card On Android Phone
How to Use SD Card as Internal Storage
The above method on how to move apps to SD card on Android is applicable only for cases where the said application supports the storage switching option. An SD card can be used as internal storage memory for apps that do not support this feature as well. All apps and multimedia files get automatically stored to SD card thereby, relieving the burden of internal storage space. In this scenario, the SD card and internal memory will turn into a large, unified storage device. Note 1: When you use an SD card as an internal storage device, it can only be used in that particular phone, unless you format it. Note 2: Also, the device will function only when the SD card is inserted into it. If you try to remove it, a factory reset will be triggered. Also Read: How to Access Blocked Sites on Android
Step I: Erase SD Card
Firstly, you should erase your SD card before changing the default storage location to SD card.
Place the SD card into your device.
Open device Settings > More settings.
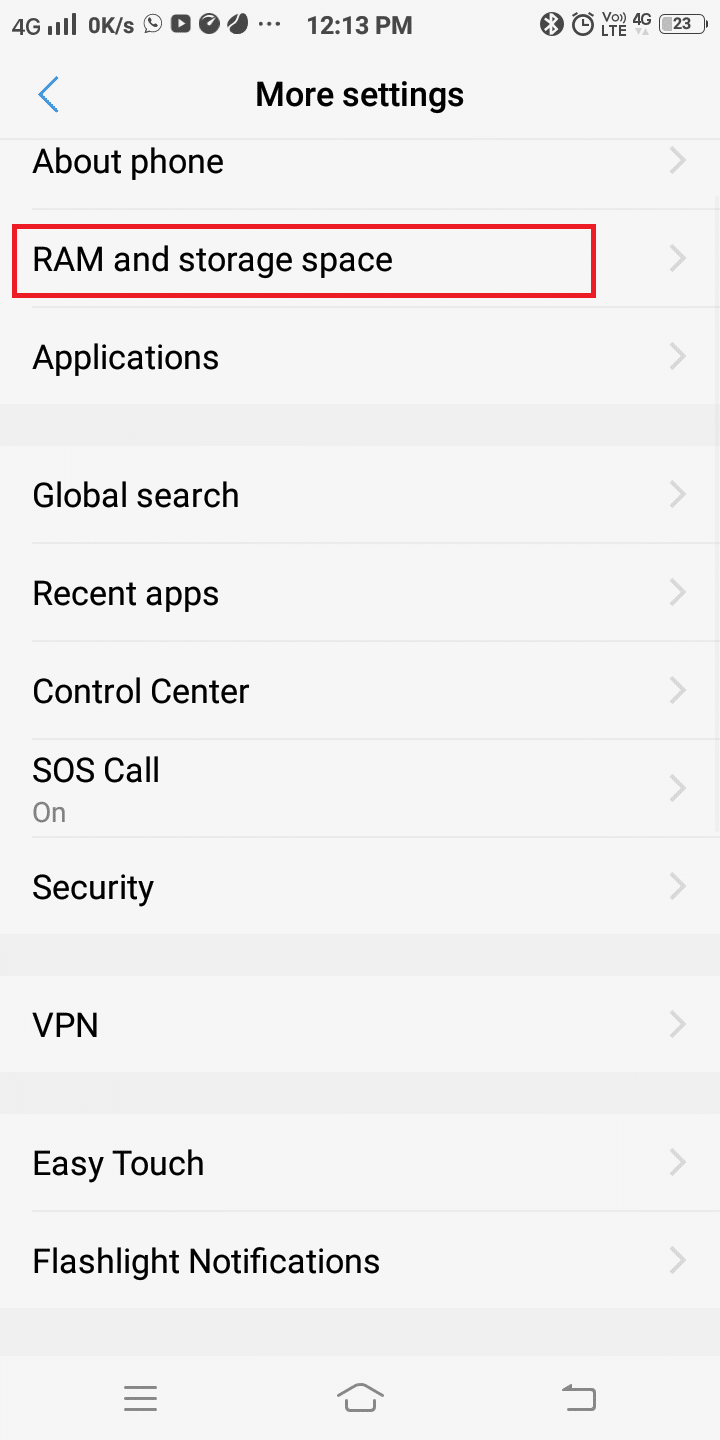
From the list of options displayed on the screen, tap on RAM and storage space, as shown.
Tap on SD card and then, tap Erase SD card, as depicted below.
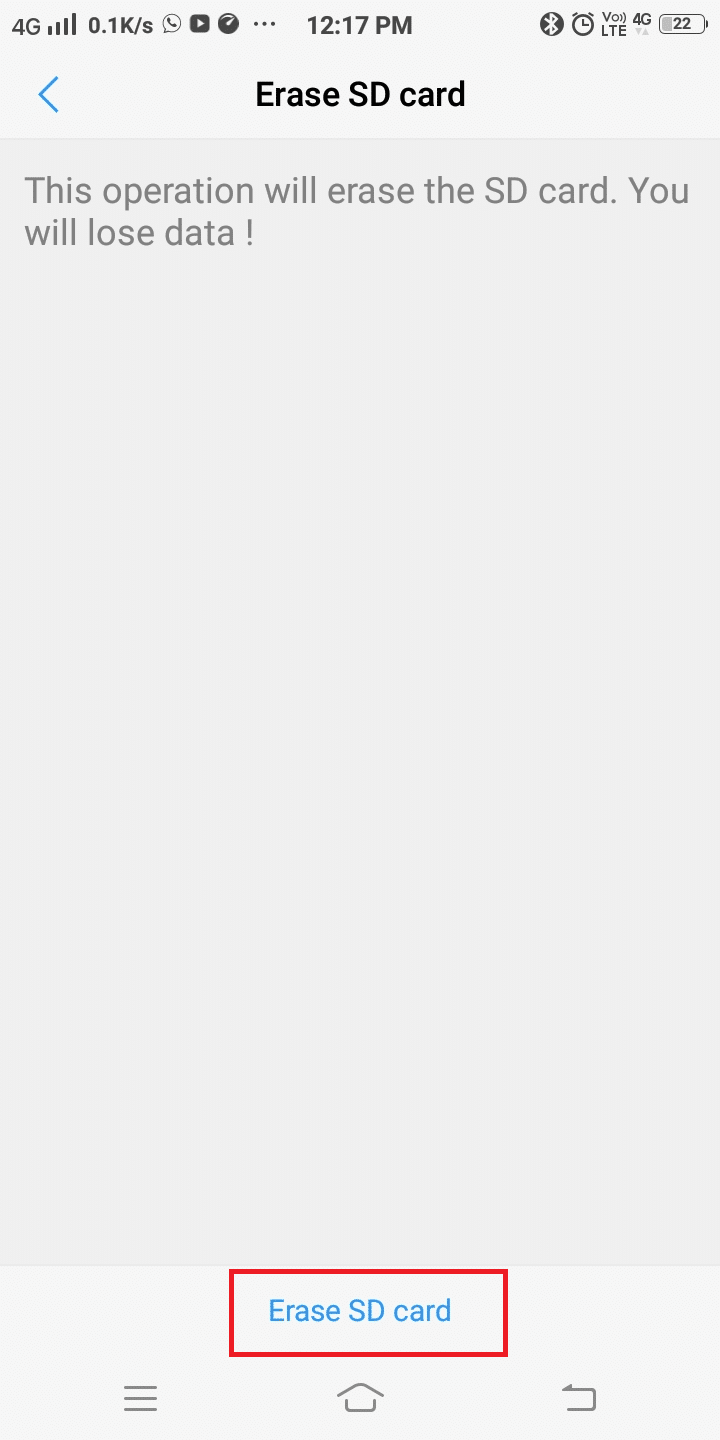
On the next screen, you will get a warning stating This operation will erase the SD card. You will lose data!. Confirm your choice by tapping on Erase SD card again.
Step II: Change Default Storage Location
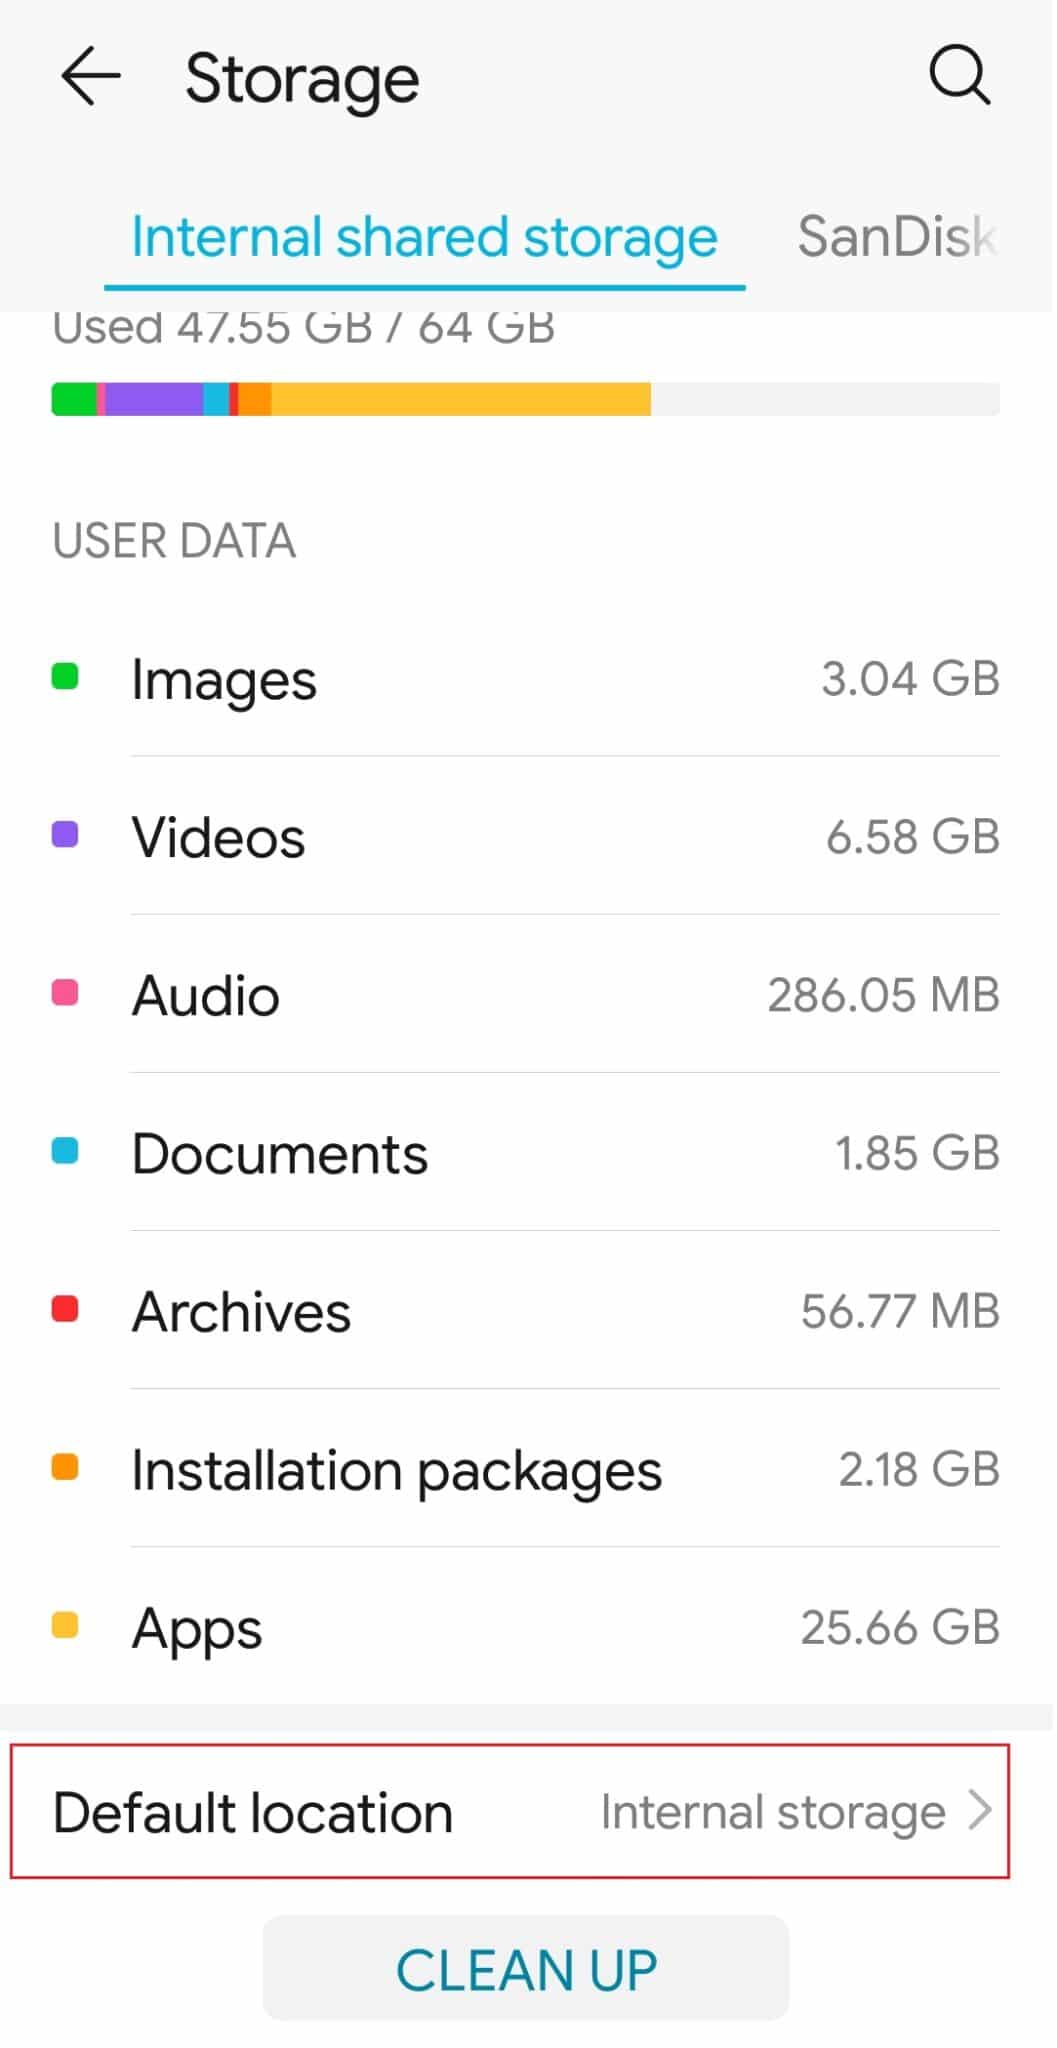
You can now set your SD card as the default storage location by following Steps 7-9. 7. Navigate to Settings > Storage, as shown.
Here, tap on Default location option.
Tap on your SD card (e.g. SanDisk SD card) Note: Some SD cards may be slow in processing. Before turning your SD card into internal storage memory, make sure that you select an SD card fast enough to maintain the optimum performance of your Android device.
Now, your device default storage location will be set to SD card and all the apps, photos or videos and files you download hereon will be saved in SD card. Recommended:
How to Delete Discord Fix Unfortunately The Process com.android.phone has stopped Fix Unfortunately IMS Service Has Stopped
We hope that this guide was helpful and you could learn how to move apps to SD card on Android. If you have any queries, then drop them in the comments section below.