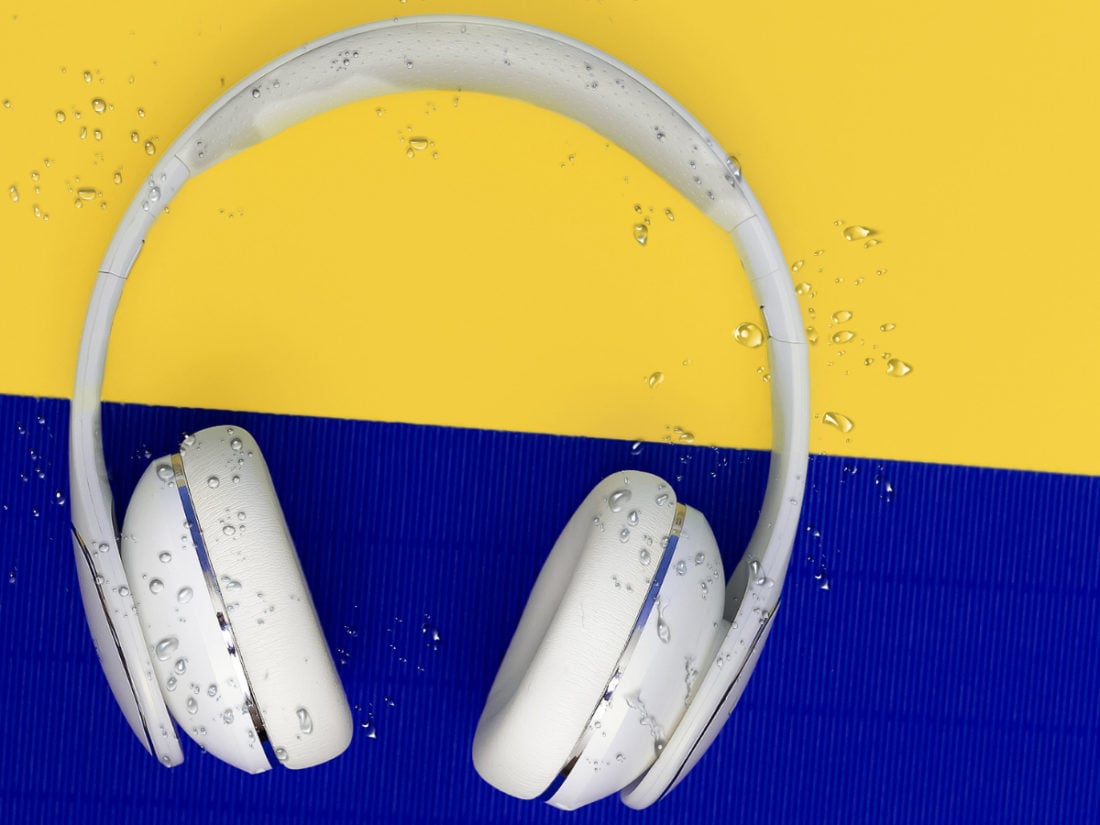
Just like any other electronic device, your headphones are prone to water damage. And this can happen anytime, anywhere. It may be because of a sudden rain while you’re using your headphones outdoors, floods, or simple incidents like accidentally knocking down a bottle of water straight to your headphones. No matter the cause, exposure to water can result in serious damages. The worse thing is, there’s a lot of contradicting tips out there on how to salvage your headphones. One of the most common of those is to place your wet headphones in a gallon of uncooked rice. Unfortunately, that doesn’t always work and can actually make things worse. This is why we’ve compiled a guide on the basics of water damage, what actually happens to headphones, and how to effectively save them from being permanently damaged. We even threw in some tips on how to avoid some not-so-obvious pitfalls. Let’s dive right in on how we can go about fixing our water-damaged headphones!
What Happens When Headphones Get Wet?
Everyone knows that water is the bane of all electronic devices. However, despite common belief, it’s worth noting that water alone doesn’t damage headphones. It’s the other minerals and impurities within the water that cause the problem. These impurities may be composed of various minerals, chemicals, and even bacteria. With water, these impurities can spread out inside your headphones and reach vital contact points. As a result, these can make the electric current go to places it shouldn’t go to, often leading to ‘short circuits’. This is why it’s highly discouraged for you to turn on your electronics right away after being submerged into water. This can trigger enough bouts of electric current to fully damage your headphones beyond repair. Aside from that, another inherent problem resulting from your headphones’ contact with water is corrosion. The same impurities that cause water to be conductive are also responsible for raising its pH level (acidity) and can make certain types of metal at risk of corrosion. For example, contaminants like chemicals and minerals make water corrosive to most metals, while organic matter specifically targets carbon steel. But they all do one thing: corrode metal parts. However, corrosion is a slow process and your headphones can be asymptomatic for days. There are some cases when headphones get soaked with water but survive, only for them to ultimately fail days later.
Can all kinds of water damage headphones the same way?
As mentioned earlier, water itself isn’t to blame for your headphones’ water damage. The problem lies in the chemicals and minerals present within them. That’s why different types of water have various effects on electronic devices. For example, seawater is very corrosive thanks to its high salt content, while deionized water is benign for most metals except carbon steel. Tap water, on the other hand, is somewhere in the middle of those two, with a pH level of 7. Lastly, distilled water is the safest for electronics as all its contaminants were removed through various rigorous processes However, this doesn’t mean you can dunk your headphones into distilled water anytime you please, unless necessary. While distilled water is generally safe, it can easily be exposed to chemicals and various minerals that can potentially damage your headphones.
How to Fix Water-Damaged Headphones
There are several ways to restore waterlogged headsets. What we’ve presented here are the most concise methods to salvaging your headphones/earbuds without complications.
1. Dry headphones using soft towel
An important prerequisite in fixing your headphones is to wipe off the excess water with a dry towel. By wiping the visible wetness, the risk of more water getting in is substantially lessened. How to do it right: Prepare a dry towel, preferably cotton. Use the dry towel to firmly but carefully wipe the visible water off your headphones/earbuds.
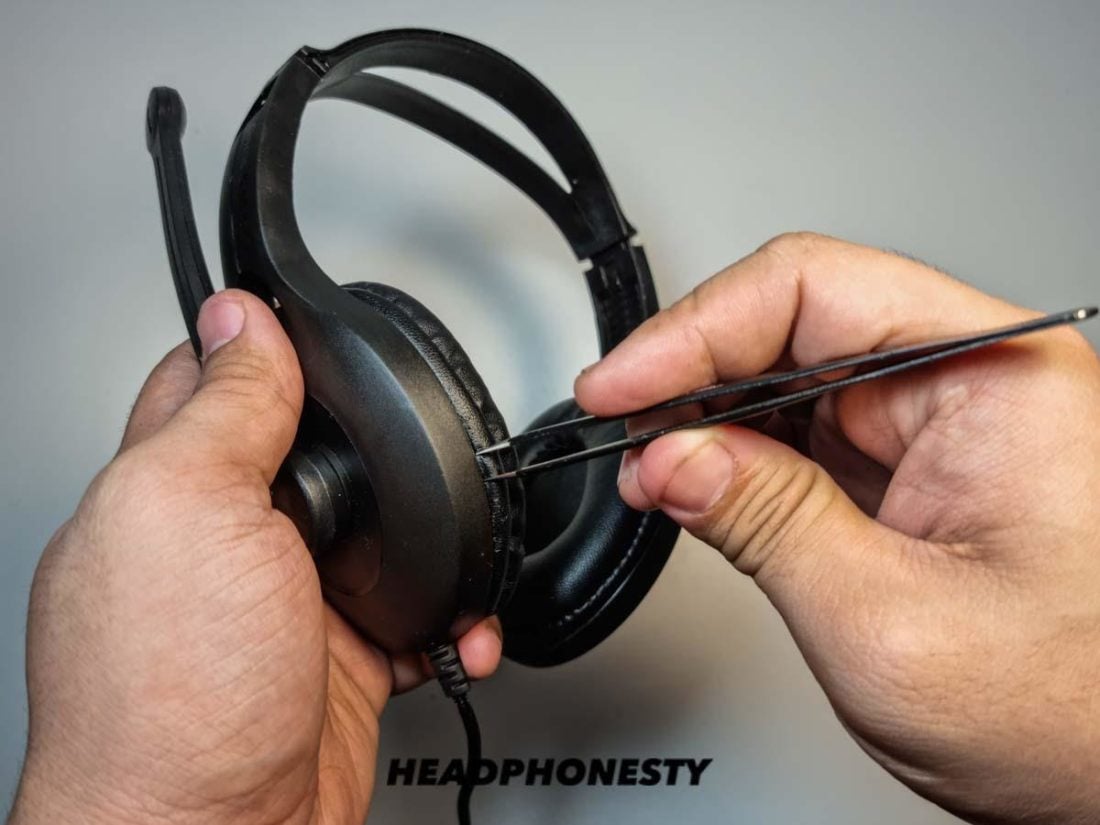
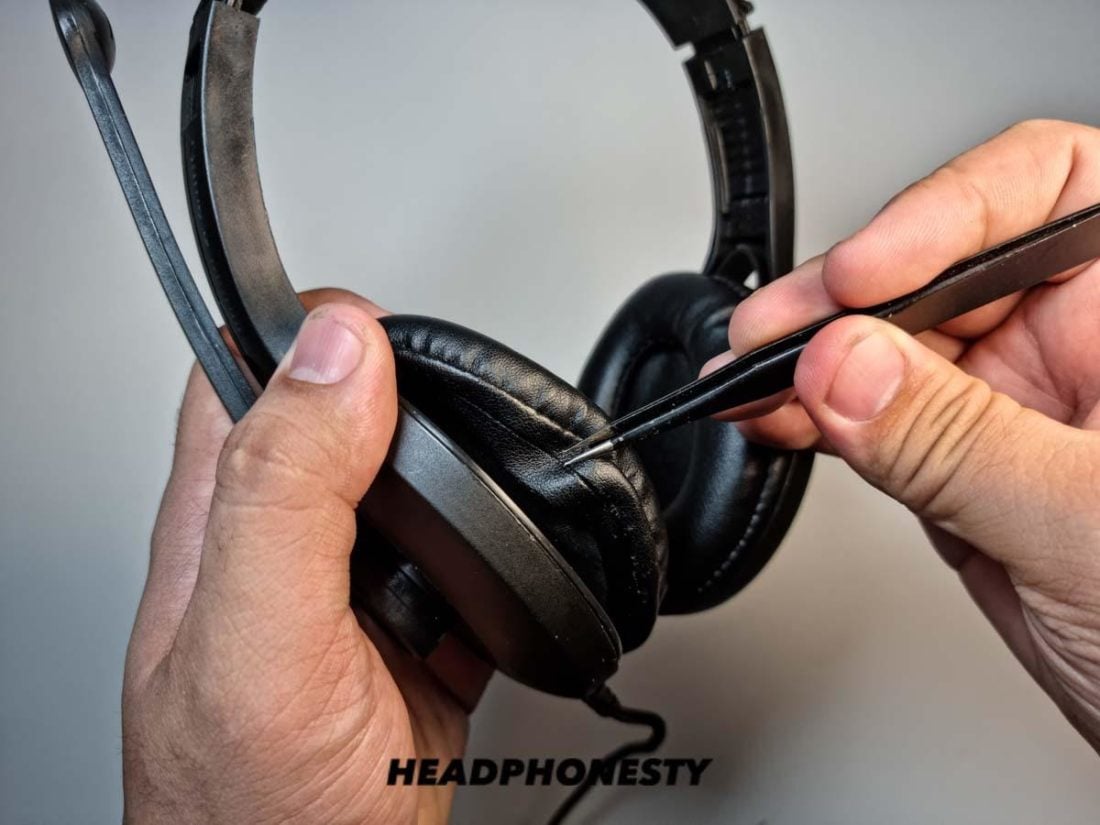
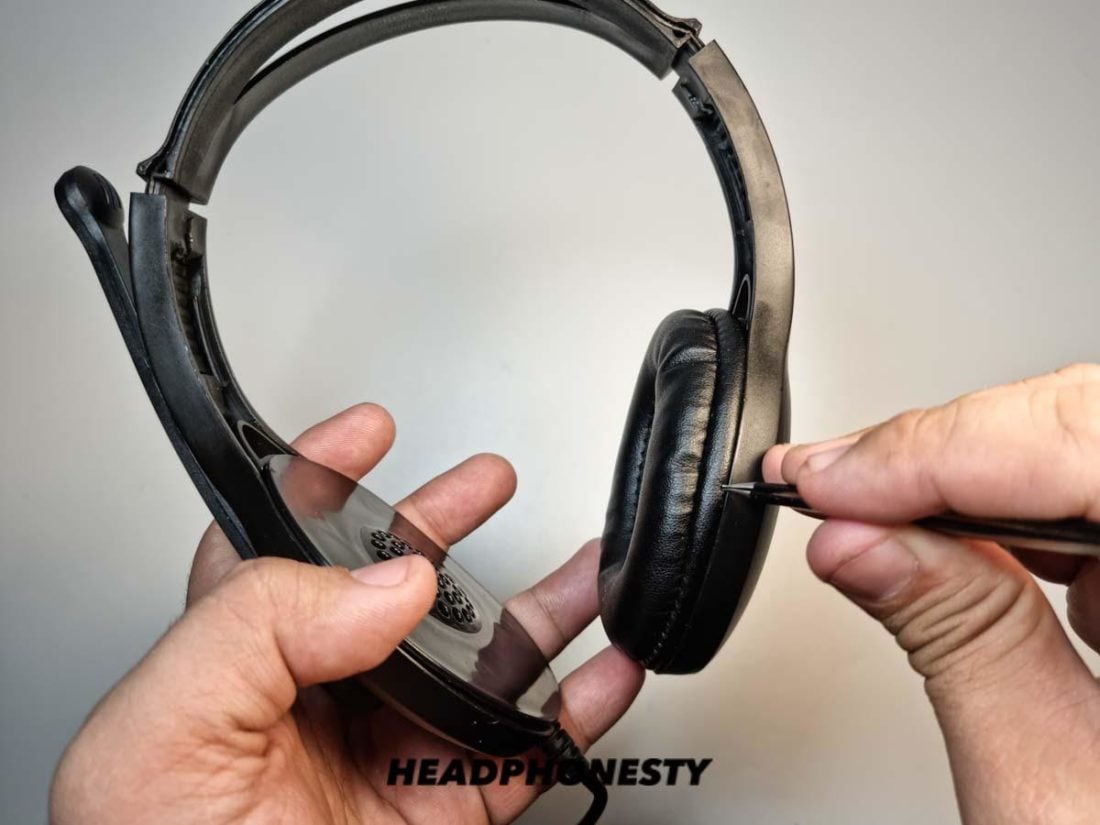
2. Remove ear tips or padding
There’s a decent chance your earbuds’ ear tips may contain some water after getting wet. The same goes for the headphones’ earpads. Their foams easily absorb liquid like sponges. That’s why these detachable parts should be removed immediately then dried separately. How to do it right: For earbuds: simply apply some gentle force to pull the tips off the earpieces. Some may require a bit of twisting, depending on your earbud model. Air dry them later on a soft towel. Unlike ear tips, removing the headphone ear pads is a bit more challenging. While some ear pads are detachable and easily pop right off, other ear pads are glued and may require a prying tool. But a flathead screwdriver or blunt knife will also do the job nicely. If you you need a more detailed guide in removing and/or replacing your ear pads, you can also check how to replace headphone pads. You’ll find that you can breathe new life into your headphones by simply replacing their ear pads.
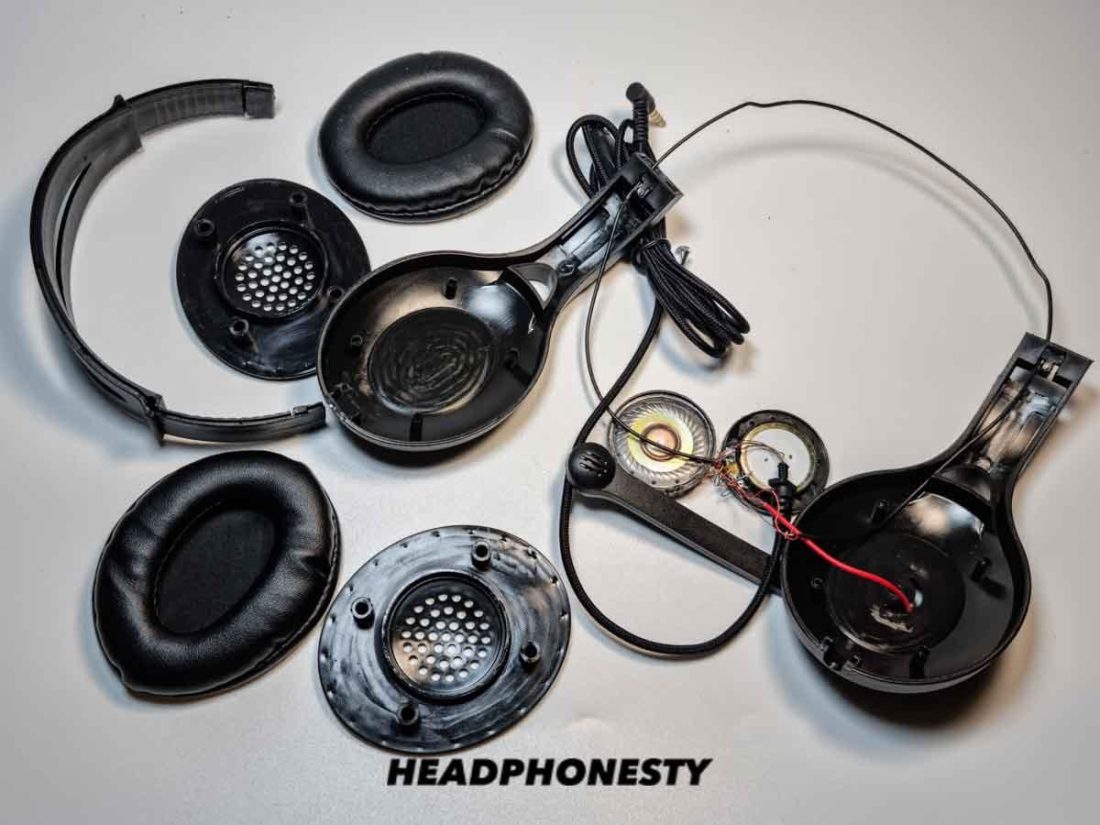
3. Disassemble your headphones
This may seem like a daunting task, but dismantling your headphones is the only way to remove the water inside. There’s no universal method to disassemble your headphones/earbuds. How you will go on about this will depend on the brand and model. You’ll also require some specific tools for disassembly. How to do it right: This procedure requires specific and precise steps on how to carefully crack open your earbuds and/or dismantle your headphones. However, as mentioned, different brands and models have different ways of dismantling them. For example, here are some guides on how to dismantle some of the most famous headphone brands:
Bose QuietComfort 35 Sony MDR-1000X Beats Studio 1
However, disassembling your headphones requires a bit of technical knowledge and steady hands. So if you’re squeamish about disassembling your own headphones/earbuds, there’s an alternate worry-free solution. You can go to a professional to do it for you. They know exactly what to do and they already have the necessary tools to fix and disassemble your headset.
4. Use distilled water
We need to use distilled water to dilute the water that’s stuck inside your headset. As previously mentioned, distilled water is safe to use as it has passed through the necessary purifying processes. Those procedures removed the impurities that conduct electricity and make water corrosive to the circuits of headphones/earbuds. Since distilled water has been purified, diluting the water inside your headphones/earbuds will help spread out the latter’s impurities, thus weakening its conductivity. It will also nullify its corrosive properties to safe degrees. This will (hopefully) spare your headset from serious water damage. .How to do it right:
5. LIGHTLY shake off excess droplets
Since it’s not advisable to use conventional drying methods on your headset, i.e. using hairdryers and sun drying, the best way to remove excess water is to lightly shake your headphones/earbuds. How to do it right: Hold your headphones/earbuds firmly. Do quick downward motions after every second or so. Do this several times (for around 2-3 minutes) until there are no more visible droplets.
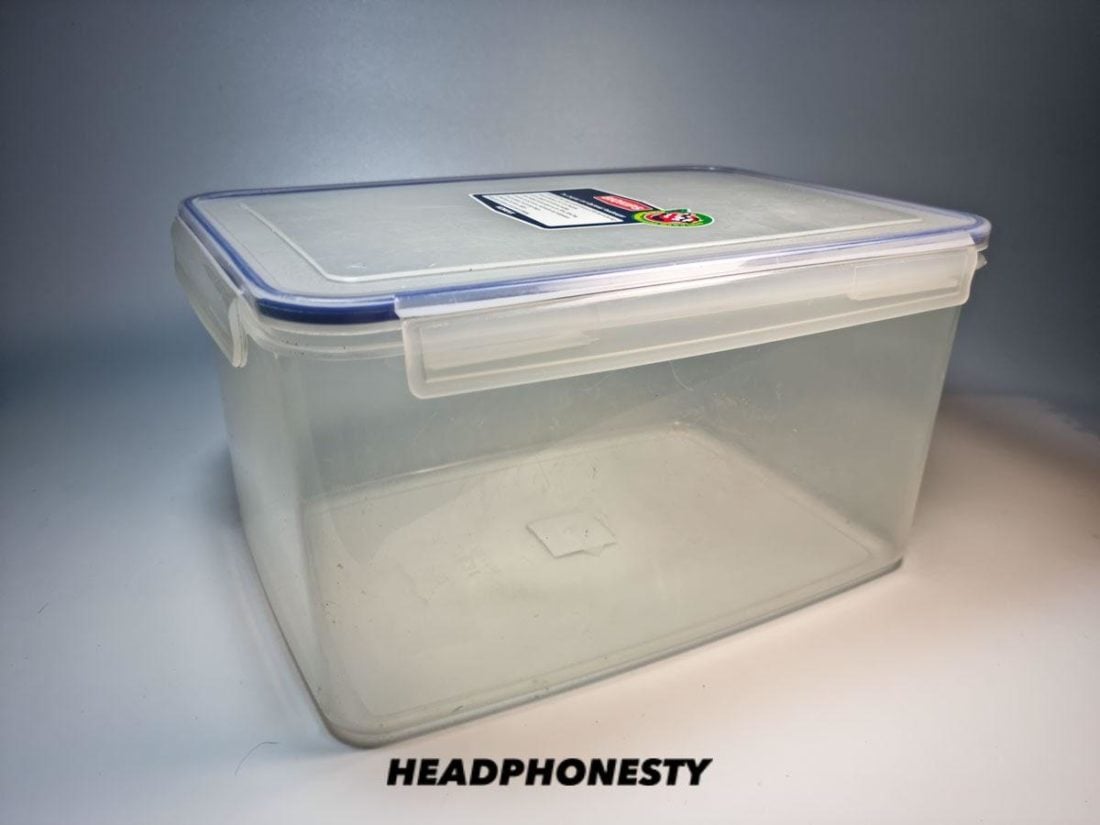
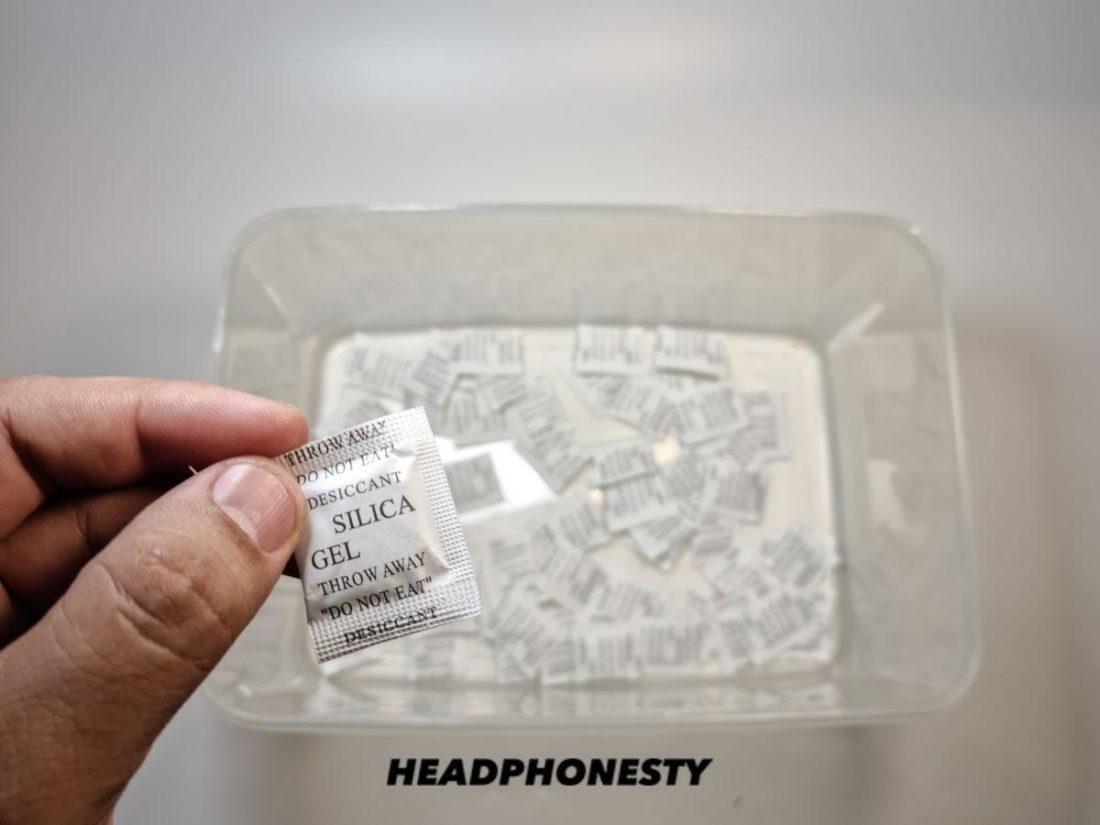
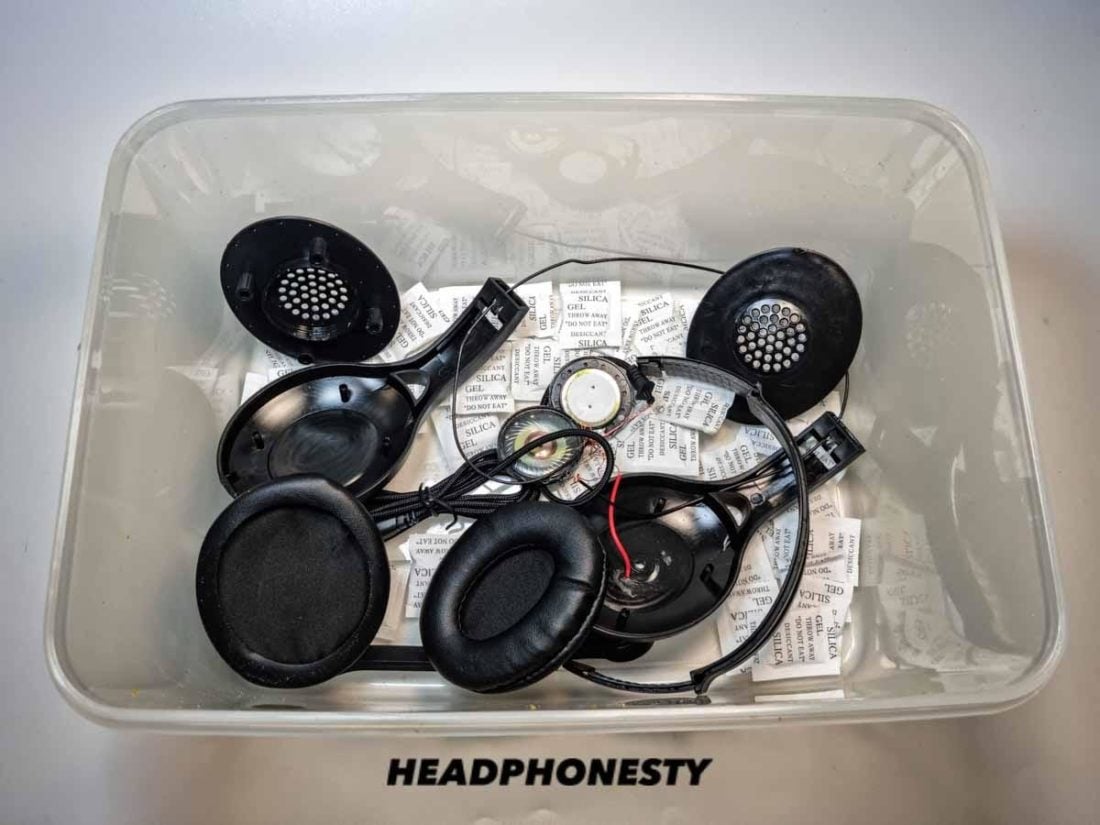
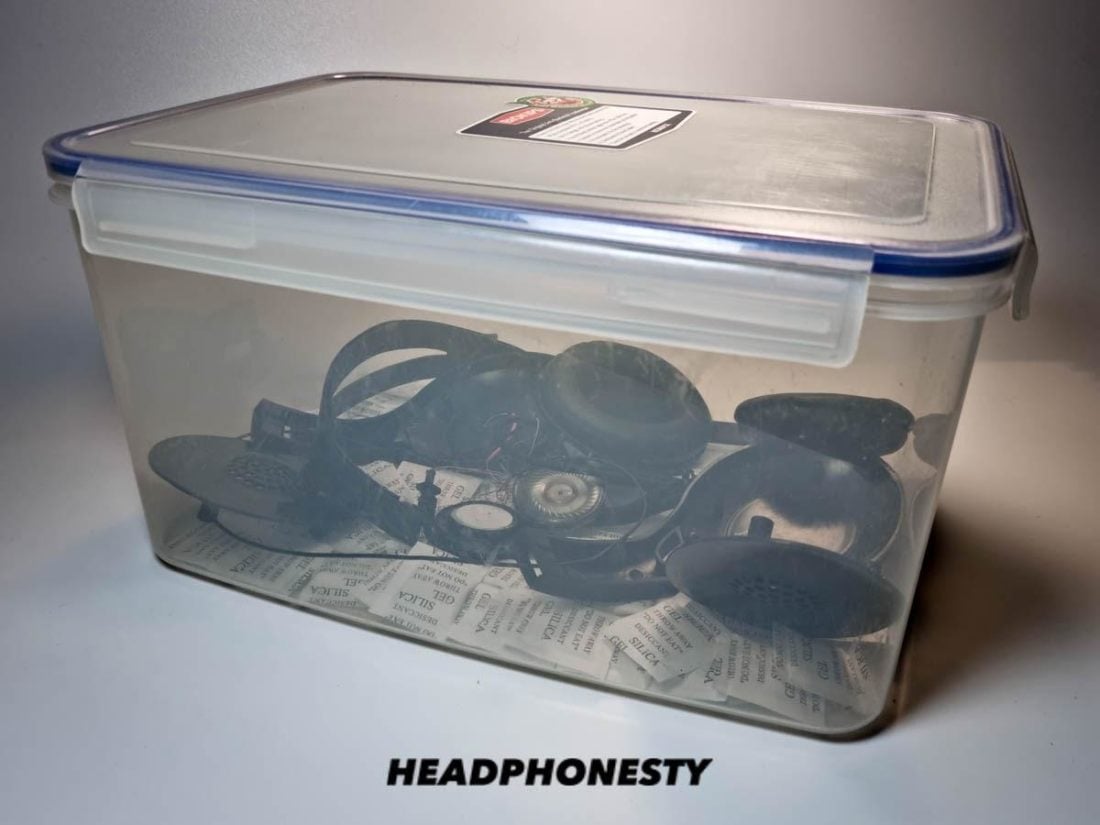
6. Dry with desiccant
A desiccant is any material that can assist in the drying process of a wet substance, e.g. headphones, by absorbing moisture in the air. Some examples of household desiccants are uncooked rice, instant oatmeal, and silica gel. Hands down, the most popular household desiccant is uncooked rice. There are lots of instructional videos and articles aimed at showing its efficacy. But based on a study by Gazelle, uncooked rice came last in terms of effectiveness against other household desiccants. The same study also showed that silica gel is the most effective out of 6 other household desiccants. Rice or other types of starch also tends to make a mess and get inside electronic devices. Moreover, raw rice requires 48 hours to fully dry your headphones. In comparison, silica gel only requires an overnight drying period. This gives you more leeway to bring your device to a service center should the need arise. How to do it right:
What NOT to Do When Headphones Get Water Damaged
Now that you know what to do, it’s also important to keep in mind the “don’ts” in treating water-damaged headphones. There are several things to avoid should your headphones ever get wet. In any accidents, remember to keep calm and have a presence of mind. This way, you wouldn’t succumb to various pitfalls while trying to salvage your headset.
Do NOT plug in the headphones
It’s tempting to check if your headphones are still working. However, you should keep them unplugged from any audio device/power sources until you’re sure that they are completely dry inside-out. Doing so exposes your headphones to a greater risk of short circuit. It’s always best to wait until after some immediate fixes are applied.
Do NOT put the headphones in the oven or microwave
It’s common sense but limit your microwave/oven use to food preparation only. They’re not for drying wet pieces of electronics. So don’t be surprised if you’re greeted with a melted lump of plastic if you do. There’s also the potential danger of causing fire hazards in your immediate vicinity.
Do NOT use hair dryers or direct sunlight
Another device best avoided when drying your headphones is the hairdryer. It won’t melt your headphones/earbuds the way microwave/ovens would. But it can still produce enough temperature to damage your headsets. This can cause your headphones to be bent or misshapen. Moreover, it’s best to air dry headsets but not under direct sunlight. Headphones/earbuds are composed of materials that have adverse effects when exposed to ultraviolet (UV) rays. For example, foam can deteriorate while PVC plastic tends to show discoloration.
Do NOT waste time
Take immediate action to save your headphones once they’re doused with water. Don’t wait for them to dry out. By then it’s too late and there’s already internal damage in your headset. Avoid following the 48-hour drying period with uncooked rice. Raw rice is less effective than silica gel anyway. And the latter only requires an overnight drying period.
How to Prevent Water Damage in Headphones
There are some precautionary measures you can take to keep your headphones safe. As accidents can happen anytime, anywhere, and when you least expect it. Being prepared with a little know-how always helps.
Know your headphones’ IP Rating
Almost all electrical and mechanical devices have IP ratings. Of course, headphones are no exception. IP ratings indicate your headphones’/earbuds’ water resistance. The higher the rating, the better your headsets can last against liquid penetration. If your daily routine constantly exposes you to potential water damage, i.e. swimming, these ratings can serve as a guide for your next headphone purchase. If your current headphones/earbuds have low IP grades, the latter can also serve as a warning for you to avoid high-risk activities. If you ever decide to upgrade, here’s a list of the best waterproof headphones for swimming.
Store your headphones properly
Proper storage is one way to prevent potential water damage on your audio gear. Most people store their headphones on the box/packaging it came with. But there are some dangers when doing so. Humidity, moisture, and sudden shifts in temperature can all add up to damage your headsets. You’re gonna need a headphone casing to protect your gear. Preferably one that’s secure from water damage. There are several cases available in the market, but one we can recommend that’s built to last is the FiiO HB1. It has the basic features for storing your earbuds/IEMs, and has a full enclosure to avoid water penetration. Feel free to check out our full review of the FiiO HB1 for more details.
Conclusion
Even if you haven’t had any water-related accidents with your audio gear just yet, it always pays to be prepared. Hopefully, after finishing the article, you’ve learned how to apply “first aid” to your headphones and avoid spending more every time an accident happens. Did you find our article informative? Or do you have any tricks up your sleeve in fixing water-damaged headphones? Drop us a comment below!