9 Ways to Fix Chrome Keeps Crashing on Windows 10
Many times, restarting your system or browser may not help you to fix the issue. Therefore, in this article, learn various other methods to quickly solve Google Chrome keeps crashing on Windows 10 problem.
9 Ways to Fix Chrome Keeps Crashing on Windows 10 Method 1: Restart your PC Method 2: Close All Tabs to Fix Chrome Keeps Crashing Method 3: Disable Extensions to Fix Chrome Keeps Crashing Method 4: Remove Harmful Programs via Chrome Method 5: Switch to New User Profile Method 6: Use No-Sandbox Flag (Not Recommended) Method 7: Run Antivirus Scan Method 8: Rename User Data Folder in File Manager Method 9: Reinstall Google Chrome
There can be numerous reasons causing the said issue. Some of them are:
Bugs in the new update Too many tabs open in the browser Multiple extensions enabled in the browser Presence of malicious software Incompatible software programs Issues in current User Profile
In this section, we have listed the solutions to fix Chrome keeps crashing issue and arranged them according to user convenience.
Method 1: Restart your PC
In most cases, a simple restart will fix the issue without having to perform any advanced troubleshooting. So, try to reboot your Windows PC by following the below-mentioned steps.
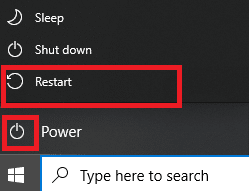
- Navigate to the Start menu.
- Now, select the power icon.
- Several options like sleep, shut down, and restart will be displayed. Here, click on Restart, as shown.
Method 2: Close All Tabs to Fix Chrome Keeps Crashing
When you have too many tabs in your system, the browser speed becomes slow. In this case, Google Chrome will not respond, leading to Chrome keeps crashing issue. Hence, close all unnecessary tabs and restart your browser to fix the same.
Close all the tabs in Chrome by clicking on the X icon present in the top right corner.
Refresh your page or relaunch Chrome. Note: You can also open the closed tabs by pressing Ctrl + Shift + T keys together.
Method 3: Disable Extensions to Fix Chrome Keeps Crashing
If the above method doesn’t work then, try to disable all the extensions in your browser to avoid incompatibility issues. Here’s how to fix Chrome keeps crashing on Windows 10 problem:
Launch Google Chrome browser.
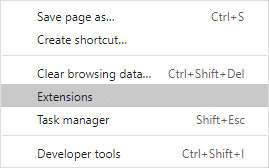
Now, click on the three-dotted icon at the top right corner.
Here, select the More tools option, as shown.
Now, click on Extensions.
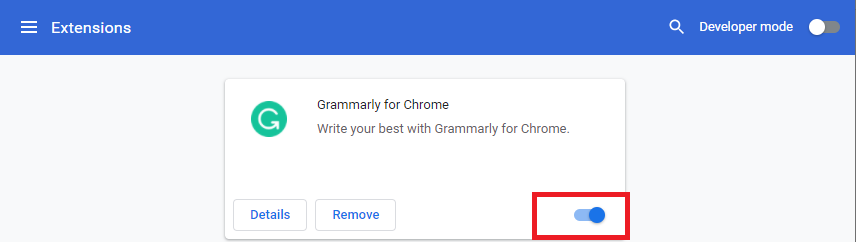
Finally, toggle off the extension you wanted to disable, as illustrated below.
Also Read: How to Clear Cache and Cookies in Google Chrome
Method 4: Remove Harmful Programs via Chrome
Few incompatible programs in your device will cause Google Chrome to crash frequently, and this could be fixed if you remove them completely from your system. Here are a few steps to implement the same.
Launch Google Chrome and click on the three-dotted icon as done in Method 3.
Now, select Settings, as shown.
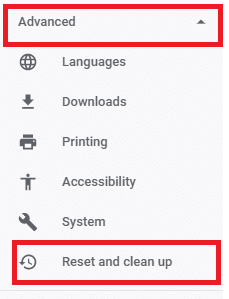
Here, click on the Advanced setting in the left pane and select Reset and clean up.
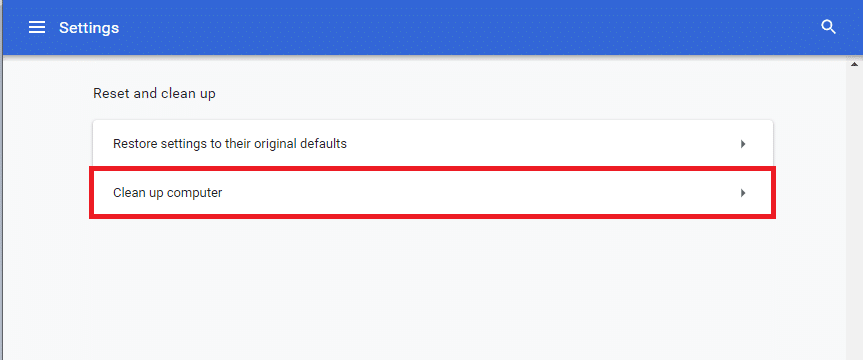
Here, click Clean up computer as depicted below.
Next, click on Find to enable Chrome to search for harmful software on your computer.
Wait for the process to complete and Remove the harmful programs detected by Google Chrome. Refresh your browser and check if Chrome keeps crashing on Windows 10 issue is resolved.
Method 5: Switch to New User Profile
Sometimes simple methods might give you the best results. For example, many users suggested that Chrome keeps crashing issue could be fixed when you switch to a new user profile. Method 5A: Add a New User Profile
Launch the Chrome browser and click on your Profile icon.
Now, click the gear icon for the Other people option, as highlighted.
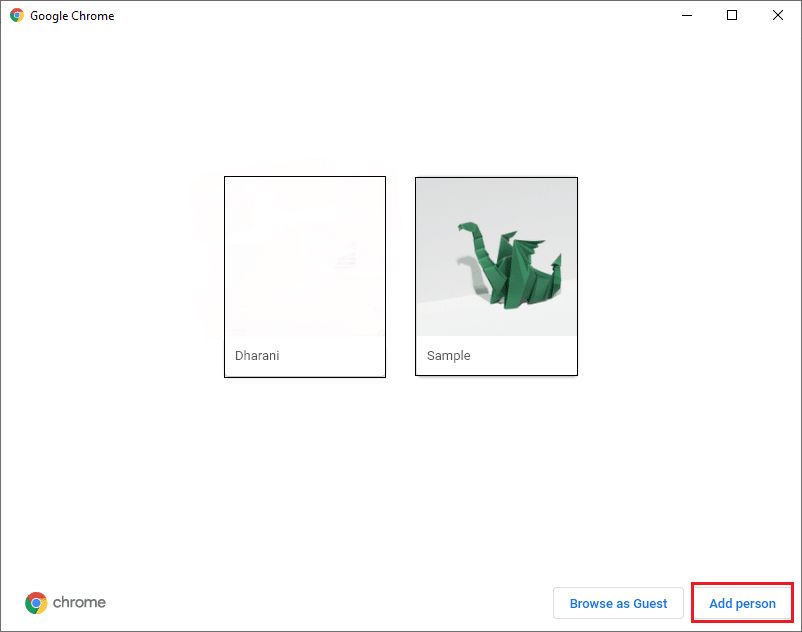
Next, click on Add person from the bottom right corner.
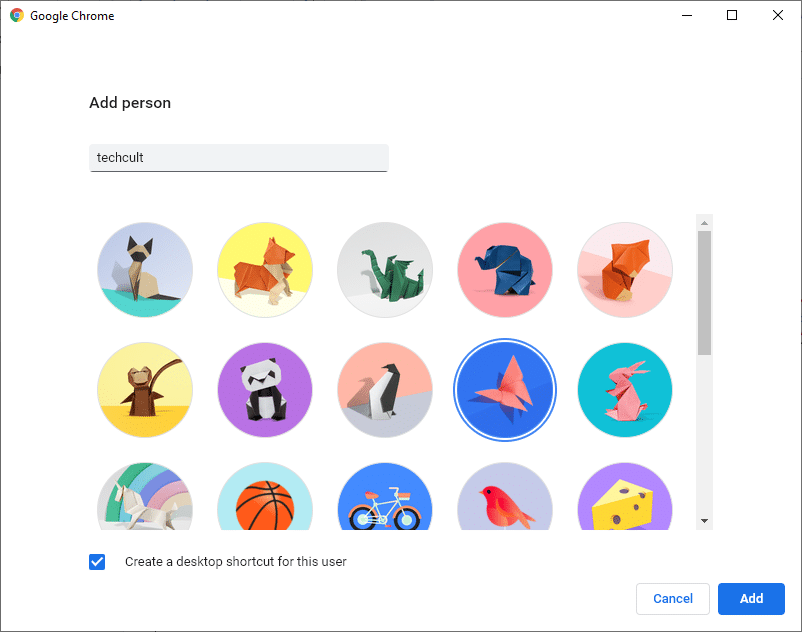
Here, enter your desired name and choose your profile picture. Then, click on Add. Note: If you do not want to create a desktop shortcut for this user, uncheck the box titled Create a desktop shortcut for this user.
Follow the on-screen instructions to set up your browser with the new profile. Method 5B: Delete Existing User Profile
Again, click on your Profile icon followed by the gear icon.
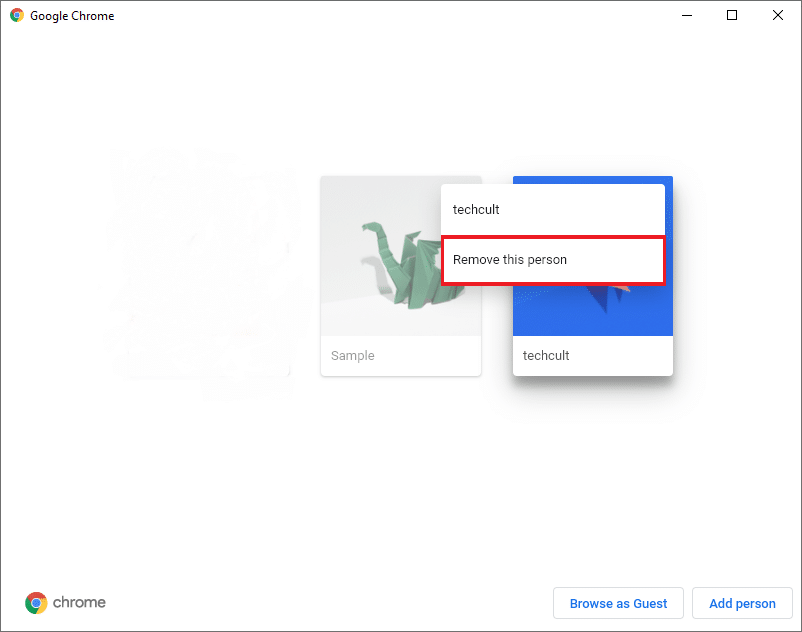
Hover over the user profile which you want to delete and click on the three-dotted icon.
Now, select Remove this person as depicted below.
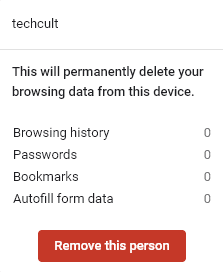
Confirm the prompt by clicking on Remove this person. Note: This will delete all browsing data corresponding to the account being deleted. Now, you can enjoy surfing your browser without any unwanted interruptions. Also Read: Fix Multiple Google Chrome Processes Running
Method 6: Use No-Sandbox Flag (Not Recommended)
The primary reason Google Chrome keeps crashing on Windows 10 issue is Sandbox. To fix this issue, you are advised to use the no-sandbox flag. Note: This method effectively fixes the said issue. Yet, it is not recommended since it is risky to put your Chrome out of the sandboxed state. Still, if you want to try this method, you can follow the below-mentioned steps:
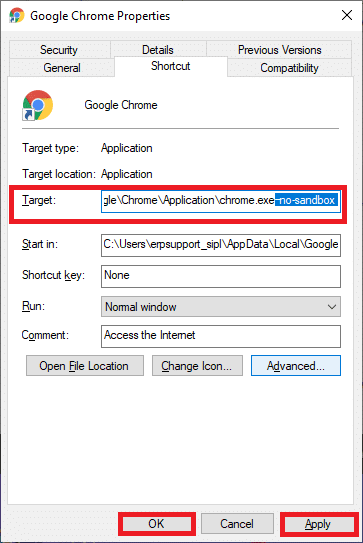
Right-click on the Google Chrome desktop shortcut.
Now, select Properties as shown.
Here, Switch to the Shortcut tab and click on the text in the Target field.
Now, type –no-sandbox at the end of the text, as highlighted.
Finally, click on Apply followed by OK to save the changes.
Method 7: Run Antivirus Scan
Malicious software like rootkits, viruses, bots, etc., are a threat to your system. They are intended to damage the system, steal private data, and/or spy on the system without letting the user know about the same. However, you can identify if your system is under malicious threat by an unusual behavior of your Operating System.
You will see unauthorized access. PC will crash more frequently.
A few antivirus programs will help you overcome this problem. They routinely scan and safeguard your system. Or, you can simply use the in-built Windows Defender Scan to do the same. Hence, to avoid Chrome keeps crashing issue, run an antivirus scan in your system and check if the problem is solved.
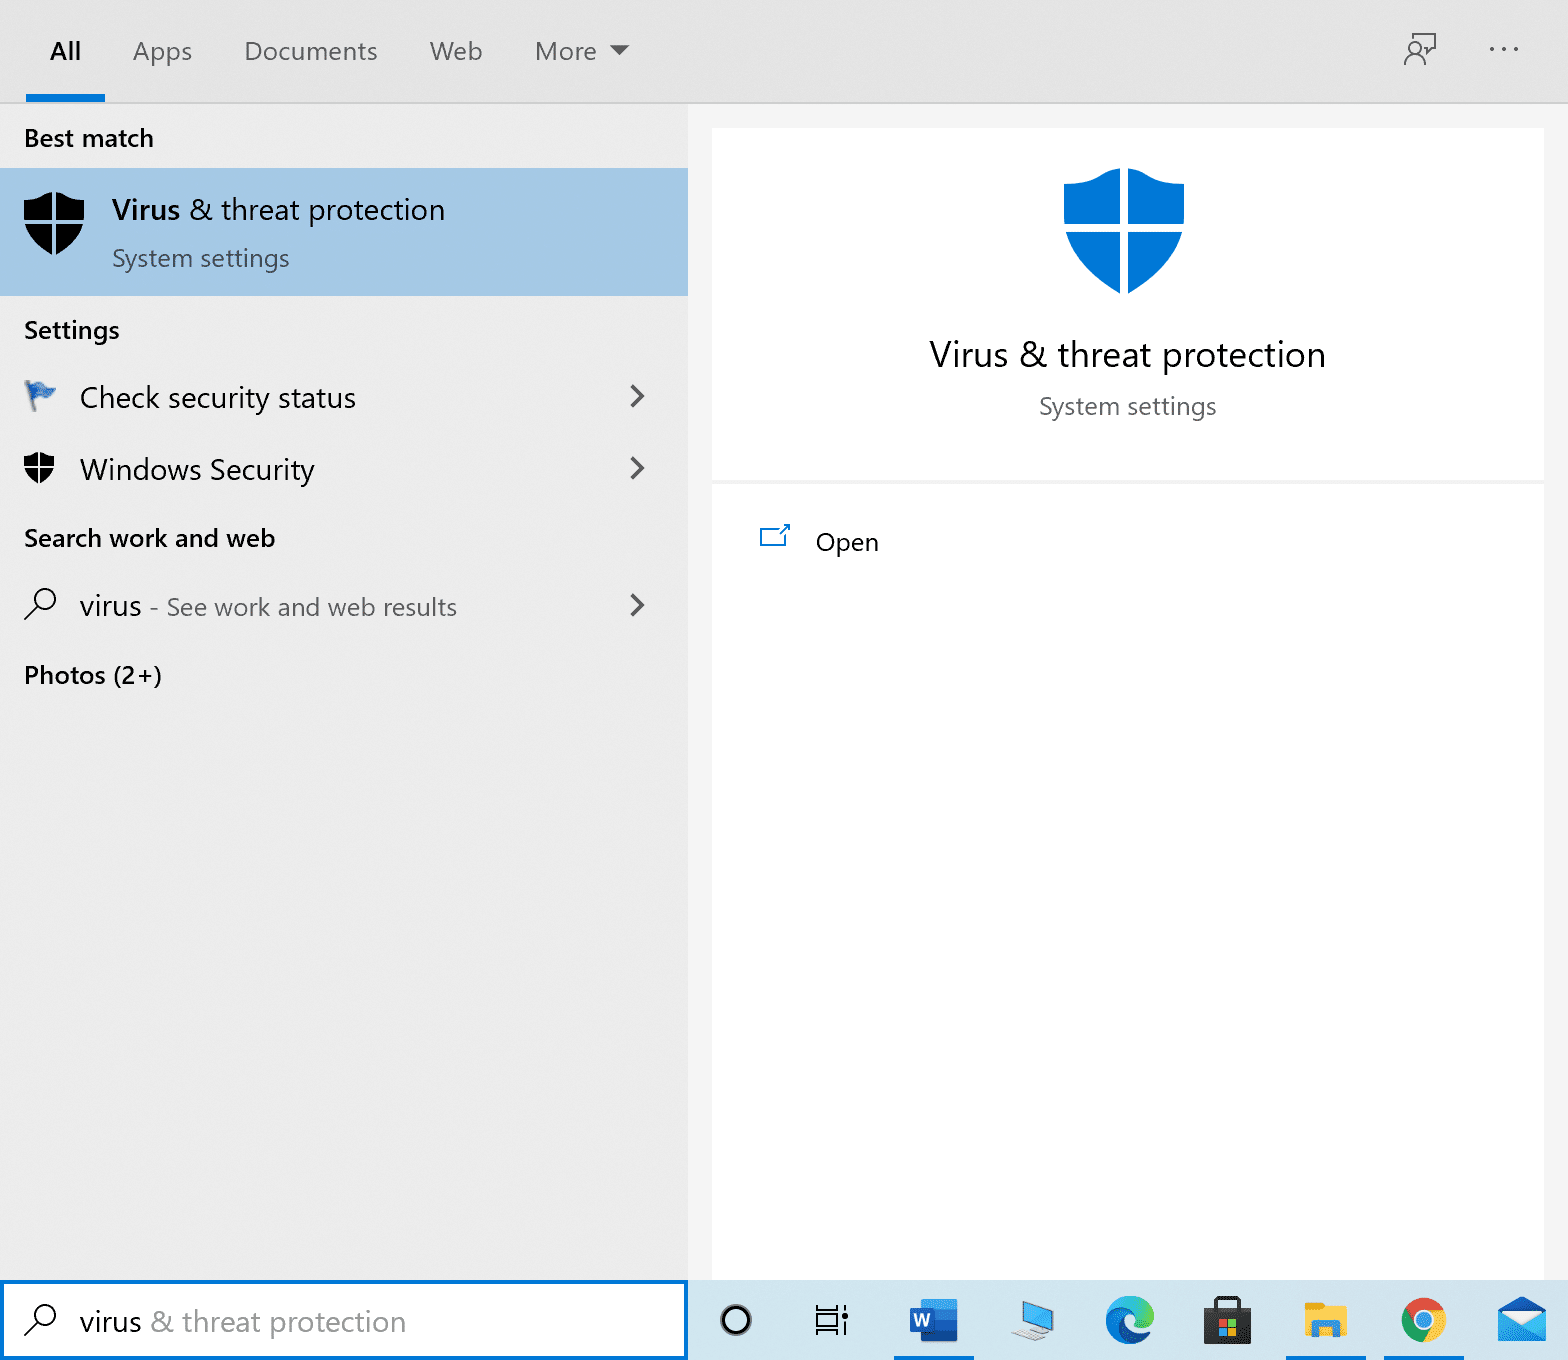
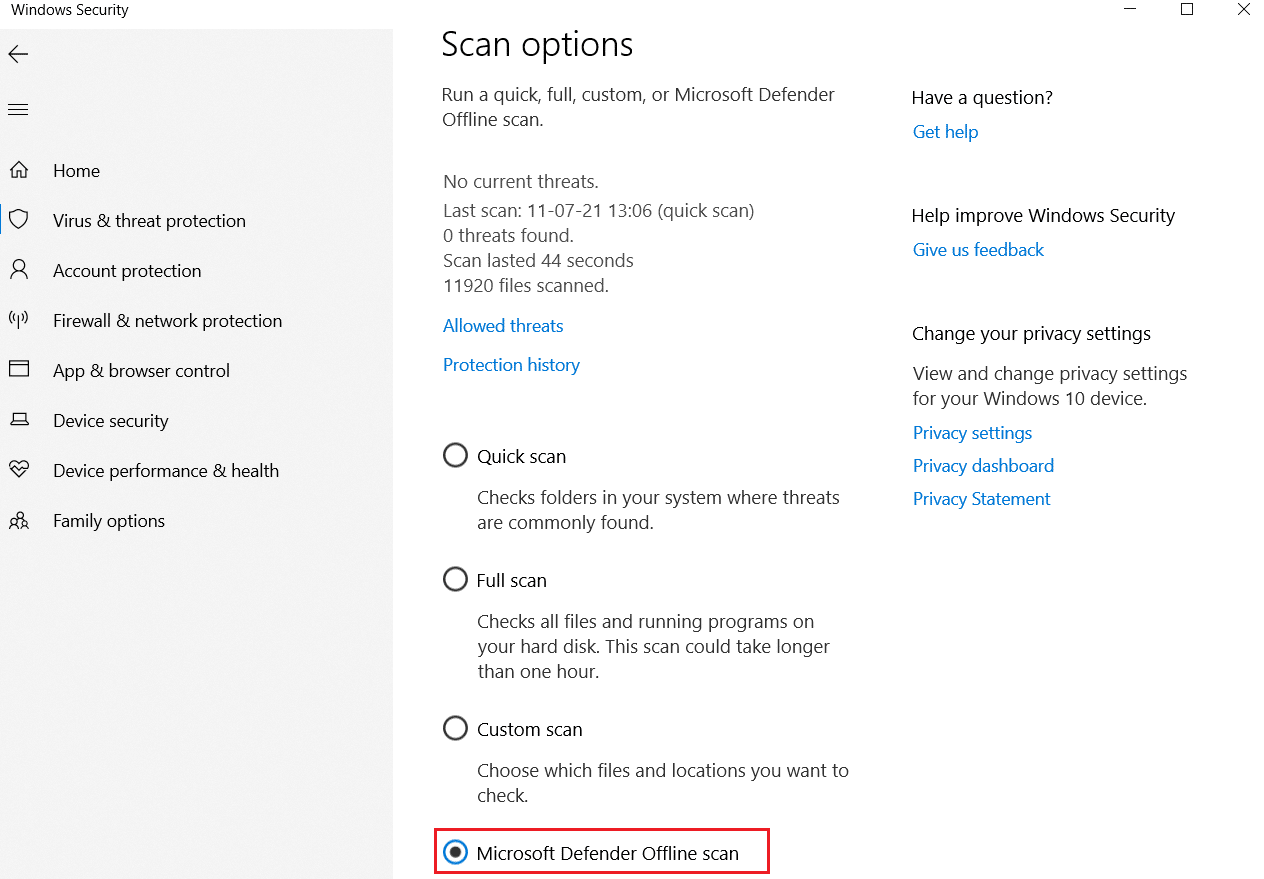
Type and search Virus & threat protection in Windows search bar to launch the same.
Click on Scan Options and then, choose to perform Microsoft Defender Offline Scan, as highlighted in the pic below. Note: We suggest that you run a Full scan during your non-working hours, to scan all system files & folders.
Also Read: How to Remove SIM Card from Google Pixel 3
Method 8: Rename User Data Folder in File Manager
Renaming the User Data folder will work in most cases to rectify Chrome keeps crashing issue, as explained below:
Launch Run dialog box by pressing Windows + R keys together.
Here, type %localappdata% and hit Enter to open App Data Local Folder.
Now, double click on Google folder and then, Chrome to access Google Chrome cached data.
Here, copy the User Data folder and paste it to Desktop.
Press the F2 key and Rename the folder. Note: If this doesn’t work, press Fn + F2 keys together and then, try again.
Finally, relaunch Google Chrome.
Method 9: Reinstall Google Chrome
If none of the above-mentioned methods have helped you, then you can try reinstalling Google Chrome. Doing this will fix all the relevant issues with the search engine, updates, or other related problems that trigger Chrome to crash frequently.
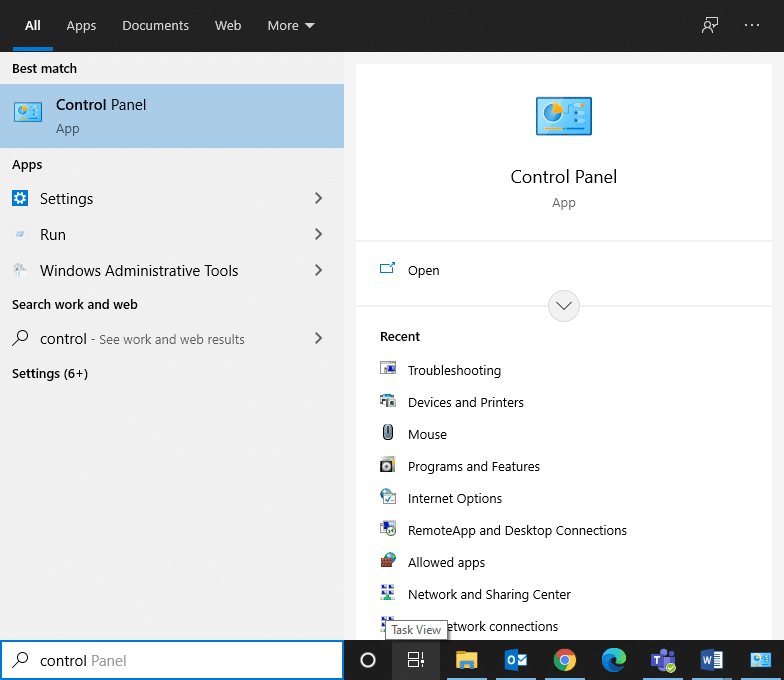
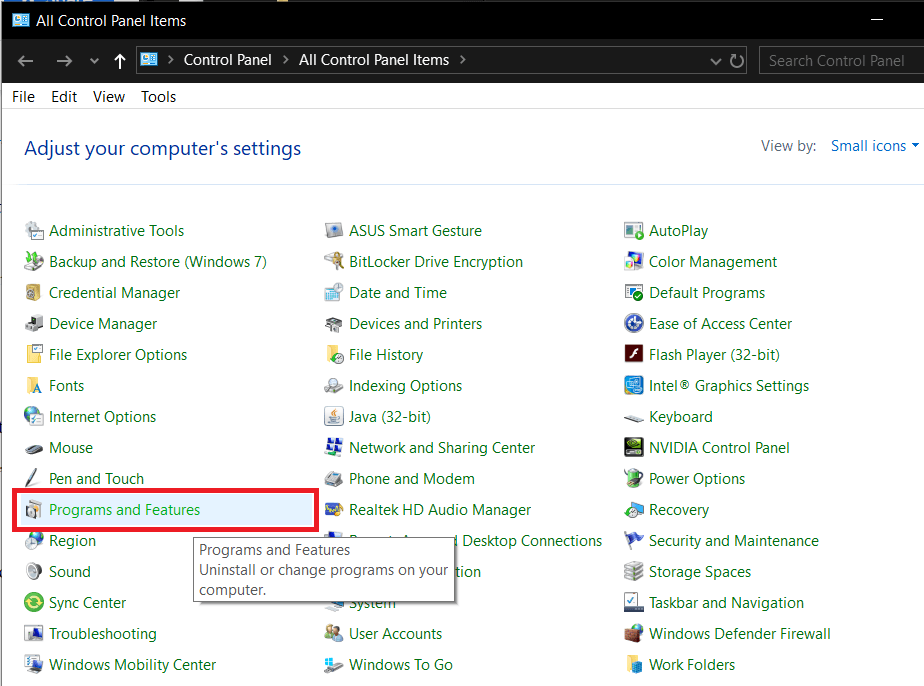
Launch Control Panel through the search menu.
Set View by > Small icons and then, click on Programs and Features, as shown.
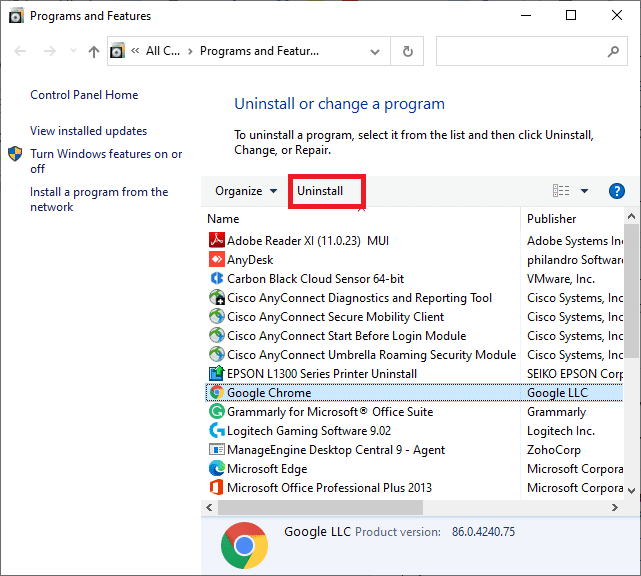
Here, look for Google Chrome and click on it.
Select the Uninstall option as depicted.
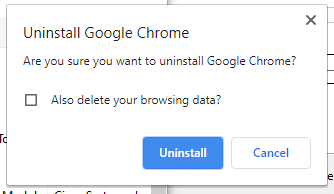
Now, confirm the same by clicking on Uninstall in the pop-up prompt.
Restart your PC once you complete the above-mentioned steps.
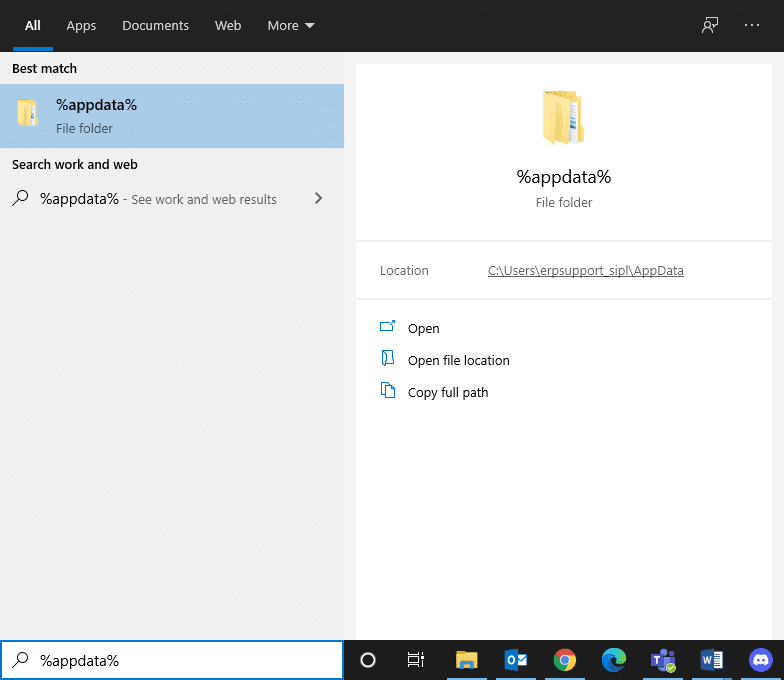
Click the Windows Search box and type %appdata%.
In the App Data Roaming Folder, right-click on the Chrome folder and Delete it.
Then, navigate to: C:\Users\USERNAME\AppData\Local\Google.
Here, too, right-click on the Chrome folder and click Delete, as illustrated below.
Now, download the latest version of Google Chrome.
Follow the on-screen instructions to complete the installation process. Launch any webpage and confirm that your surfing and streaming experience is glitch-free. Recommended:
Fix Chrome not Connecting to the Internet How to Fix No Sound issue in Google Chrome 11 Free Tools to Check SSD Health and Performance Fix Insufficient System Resources Exist to Complete the API Error
We hope that this guide was helpful and you were able to fix Chrome keeps crashing issue on your Windows 10 laptop/desktop. Let us know which method worked for you the best. Also, if you have any queries or suggestions regarding this article, then feel free to drop them in the comments section below.


![]()