How to Fix Printer Installation Issues in Windows 10
Before getting onto the fixes, let us see some causes for this issue:
How to Fix Printer Installation Issues in Windows 10 Method 1: Discharge Printer Method 2: Run Printer Troubleshooter Method 3: Update Device Drivers Method 4: Manually Install Generic Drivers Method 5: Restart Print Spooler Service Method 6: Install Drivers from Windows Update Catalog Method 7: Reinstall Printer
Printer is old and has no latest software support Windows update bug Issues with printer service Issues with printer drivers and software Printer is incorrectly connected
Continue reading to resolve Windows update can’t get list of devices issue.
Method 1: Discharge Printer
You can try discharging the printer of all electricity by removing it from the main switch, removing it from the computer for 2–5 minutes, and connecting it back again. Make sure to properly connect the printer to the main switch and the computer before turning it off, and check if the issue is fixed.
Method 2: Run Printer Troubleshooter
There is an in-built Windows troubleshooter for printer issues. You can access it easily by accessing settings. Running printer troubleshooter will resolve Windows update for printer drivers not working issue.
Press Windows + I keys simultaneously to launch Settings.
Click on the Update & Security tile, as shown.
Go to Troubleshoot menu in the left pane.
Select Printer troubleshooter and click on Run the troubleshooter button shown highlighted below.
Wait for the troubleshooter to detect and fix the problem. Once the process is complete, click Apply this fix and restart your PC. Windows will automatically search for any problems and attempt to fix them automatically. Also, you can run Hardware and Devices Troubleshooter on Windows 10 to resolve the issue.
Also Read: How to Get Your Printer Back Online in Windows 10
Method 3: Update Device Drivers
As Windows users reported errors after the Windows update, there could be problems with the printer driver. Updating printer drivers could be a potential fix. Various methods to update the printer drivers are highlighted below if one of them does not work for you. Read our guide on How to Update Device Drivers on Windows 10 and implement the different methods given in this link for printer devices.
Note: If your printer came with an installation disc, it could be a driver installation disc. Insert it into your DVD/CD driver and follow the onscreen instructions to install the driver.
Method 4: Manually Install Generic Drivers
If you have an old printer or your manufacturer has not yet released a driver for Windows 10, printer installation issues can occur. This can be an ongoing issue since the printer will be unusable without proper usable driver software. In this scenario, Windows will automatically install Generic drivers suitable for your printer. If not, then you can install them manually.
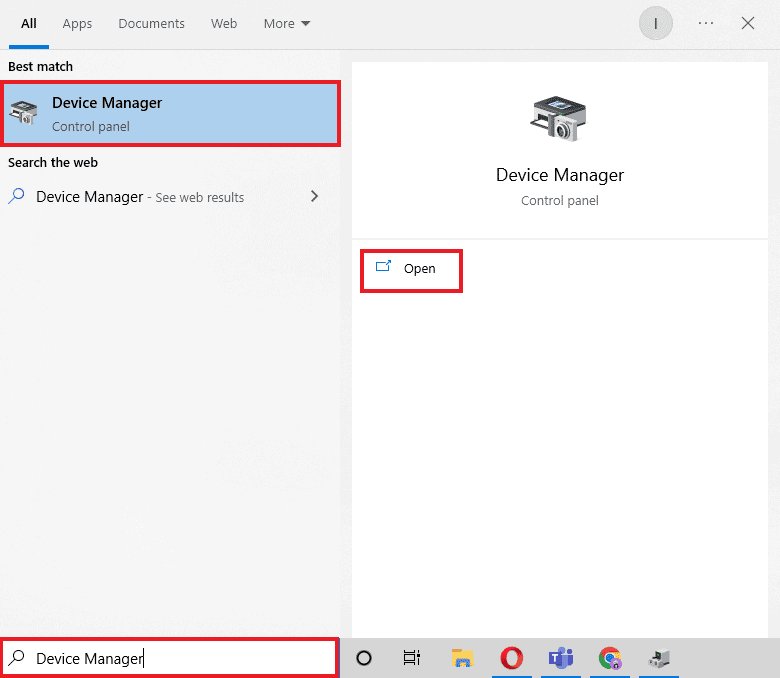
Press the Windows key, type Device Manager, and click on Open.
Under the Print queues section, right-click on Microsoft XPS writer and select the Update driver option.
Click on the Browse my computer for driver software option.
Next, click on Let me pick from a list of available drivers on my computer.
Finally, choose Generic software device and click on Next.
This will install the required driver and fix the printer installation issue. Also Read: Fix Printer Driver is unavailable on Windows 10
Method 5: Restart Print Spooler Service
When a Windows user sends print requests to the printer, the print spooler is the software that manages these requests sent by the user. Resetting it can be a potential solution. Follow the below steps:
Hit the Windows + R keys together to open the Run dialog box.
Type services.msc and click on OK to launch the Services window.
Right-click on Print Spooler and click on Stop to stop the service.
Now, navigate to the Run dialog box again by simultaneously pressing Windows + R keys.
Enter the below command and click on OK.
Select all the files in the folder by holding Ctrl + A keys simultaneously.
Now, press Shift + Delete to delete all the files present in that folder permanently.
Go back to the Services window and double-click on the Print Spooler service.
Make sure the Startup type drop-down is set to Automatic.
Finally, click on Start under the Service status section.
Click on Apply > OK to confirm. Check if Windows Update can’t get list of devices issue gets resolved or not.
Method 6: Install Drivers from Windows Update Catalog
Sometimes, using a generic driver does not help and might still throw up printer installation issues. If you face issues with the printer and you have an old printer, then you can try an official Microsoft Windows Update Catalog. Here, the updates are archived so year-old drivers can easily download and use them. Let us see how to use it.
Go to the Microsoft Catalog website in a browser.
Type the model of your printer (e.g. HP LaserJet 4000) and click on Search to search drivers for your hardware.
If you find the driver for your hardware, click on Download.
Here, click on the cab link to download the driver.
Right-click on the downloaded file and choose Extract.
Update your printer driver manually by locating the folder where you extracted the drivers. Also Read: Windows Cannot Connect to the Printer [SOLVED]
Method 7: Reinstall Printer
You can reinstall the printer completely from the start to see if that works. This involves removing the printer and device driver with all powers and connecting them back.
Hit the Windows key, type Control Panel, then click on Open.
Set View by > Category, then click on View devices and printers.
Under the Printers section, right-click on your printer.
Choose the Remove device option.
Click on Yes in the UAC prompt to remove the device.
Now, reboot the PC and reconnect your printer.
Go to Devices and Printers and right click on the printer and select Set as default printer.
This will solve printer installation issues. Recommended:
Fix Daemon Tools Unable to Access Image File MDF Fix Epson Scanner Cannot Communicate in Windows 10 Fix Error Printing in Windows 10 Where is the WPS Button on Canon Printer?
We hope that this article was helpful, and you were able to resolve printer installation issues in Windows 10. If you have any doubts or suggestions, comment below. Also, let us know what you want to learn next.